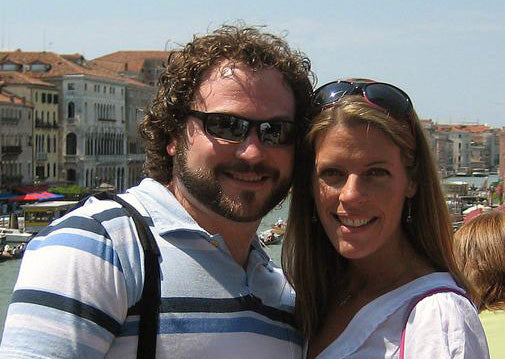
Happy Mother's Day to all the wonderful mom's in the world - especially all the moms in my family!!! I had a fantastic day with my sister and mom! They are the BEST!
This is the message on my Mother's Day card from my mom:
Dear Anne,
I'm sorry I couldn't send you the cutest, sweetest present on earth. But I didn't want you to have to make and send cookies to yourself! Happy Mother's Day to a great mother and daughter.
Love,
Mom
I have the best mom ever. She is so amazing. I just love her with all of my heart!
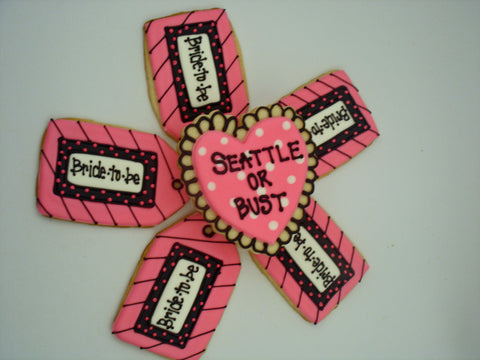
Speaking of hearts, I wanted to follow up on my promise to show you a behind the scenes look at the making of these cookies, the bon voyage bridal shower cookies made for the bride-to-be moving to Seattle:

Did you see yesterday's blog post? Seattle or Bust (part 1). This post gives you the design perspective of the cookies. Check it out by clicking here.
So let's start with the luggage tag...

I think the challenge with this cookie was making sure the tag looked consistent. I was making around 20 of this particular cookie, and I wanted to be sure the white area would be about the same size. I decided to cut a small rectangle out of paper and use a toothpick to mark the corners. These marks would then serve as a guide for my piped white line. The icing used for outlines, details, and writing is thicker than the icing used to fill in large areas - or flood in large areas.

From there I was able to pipe the black and pink outlines. Plus, I added the little circle grommet. I usually use a #2 tip with a decorating bag for all piping. Once I had all the outlines piped...I started to flood in the colored icing. Flooding is the thinner icing that flows into an outlined area. It then dries smooth and hard, making it easy to add another layer of decoration on the top, for example, words, dots, lines, etc.

When the icing is still wet, it tends to bleed together. It's important to allow drying time between the layers to avoid this from happening. I find it especially visible when black and white are next to each other. I don't like to rush the drying time. Haste makes waste. So instead of flooding the black, I skip to the pink.

Now I let both colors dry and get set up. Once they are nice and dry...I can go back and add the black icing in between. Then before I pipe any extra detail, I must let that area dry as well.

So while those are drying, I move onto the hearts.

First I outline the pink heart using the thicker pink piping icing.

Next I flood the heart with the thinner pink icing. I use a squeeze bottle for this part.

Using a toothpick, I gently tap the flooded icing to the edge. I like a nice full cookie :)

While this layer is still wet, I add the polka dots.

In my experience, it is best to let the pink sit for a few minutes. I usually do 3-5 cookies with pink and then come back and add the dots. I do them in batches because I have found that if I add the dots immediately they have a tendency to 'spread'. By waiting a few minutes, they stay nice and crisp. I just don't wait too long. Otherwise they will sit on top of the pink making it very difficult to add other details or writing.
See how the dots look a little raised. They eventually 'melt' into the bottom layer creating a smooth surface.

I let them dry for at least 8 hours... preferably overnight. So once these hearts are in the drying phase...I move onto the suitcases.

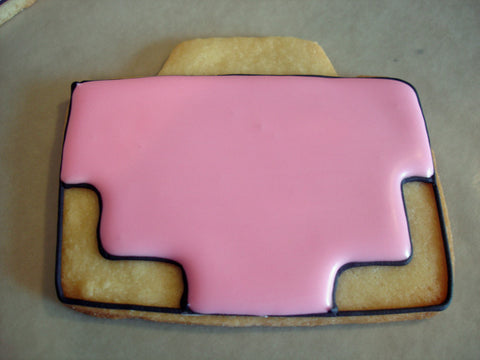
The initial phase of these cookies involves the outline of the two areas for the black and pink icing.

And just like the luggage tags, I let the pink dry a bit before I add in the black.

Once the black is flooded. I wait for everything to dry.

Then it's time for the detail. Since I sketch the cookies in advance, I know how I want them to look. I add the lines, dots, and text to the luggage tags. I also add an outline to the black edge to give it more of layered look.
Then I add the text and black outline to the polka dot hearts. These layers, because the icing is thicker, take much less time to dry.

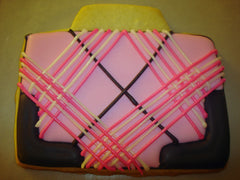
Then I tackle the suitcases. I really wanted the plaid to have an intertwined look.

So it took a little more effort, but this is how I achieved it. First, I added the black lines. I decided they should be on the bottom.

Then I alternated the layers. I did about 20 cookies of this style. So this part took me a little while. I did pink first. Then I layered white over that. Then back to pink. And then, I finished up with one last layer of white.


I let these lines dry before I added the handle over top.

Then Toph took a few pictures of the finished product before they got wrapped up.

Thanks for reading. I just love making cookies so much. I am always excited to share my projects on this blog. I do have a few other custom projects to show over the next few weeks. Plus, I'm researching a very interesting project for my mom. She wants me to make her friend something very custom and unique. For my mom, I'll do anything. I'm up to the challenge.
Have a sweet day,
Anne

