Hands down, Father's Day rocked this year. Topher and I invited both of our families over for a picnic and I got to spend time with almost all the dads in our family. The weather was perfect. And, the picnic food wasn't too bad either! Plus Topher's present was a surprise - a trip to a Pirates baseball game this summer. (If you follow baseball, he's probably the last Pirate fan standing)
With all that fun - I've got family on the brain. Which is cool because one of my all-time favorite cookie projects of my life is my Cookie Family Tree!

I made this cookie project for my daughter's birthday.
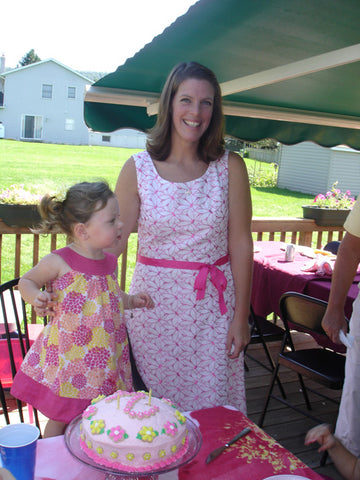
Here we are that day with her birthday cake - decorated of course with cookies!

I decided to do the Cookie Family Tree Project because we were expecting our entire family to join us for the party! I thought it would be the perfect time to surprise everyone with a cookie of themselves. And boy was it ever a surprise! I just LOVED watching everyone discover their cookie - especially since there were a few neat details to each cookie. This project was done LAST September. So we've all changed a little since then: our hair looks different, some of us have lost weight, some of us have gained a little (*cough cough*), and a few other differences....but for the most part - this is still our nutty family. Yes, we are all a little nuts. That's why I love us so much!
This blog post is PART ONE of THREE. Over the next week, I plan to show you in detail how I created my Cookie Family Tree...

Today - I'll focus on the inspiration and planning of the project. Then with my next post, I'll go into a little detail about how I created each person's cookie and show you a few close-up pictures of each family. Finally, with the last post, I'll focus on each person's 'accessory'!
First, I must give props where props are due. I got the idea for this project from the wonderful book, 'Hello, Cupcake' created by Karen Tack & Alan Richardson. You can buy a copy in just about every bookstore and online. Recently, they released a second, and just-as-amazing, book called 'What's New, Cupcake'! Their creativity is mind-blowing!

In that book, there is a cupcake family tree. The authors gave some great tips on how to plan each out person and it was their suggestion to include the accessories or prop to help identify each cookie/cupcake.

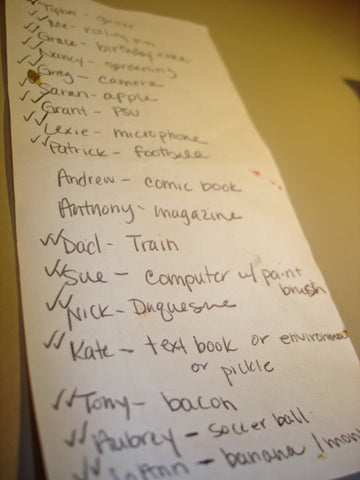
So the first thing I did was make a list of everyone that would be at the party. Believe it or not, our family is actually much bigger than this...but I tried to keep the project manageable - so much of tree are party attendees only. Next, I sketched each face (very, very roughly) and make a few notes about eye and hair color.

Finally, I brainstormed a list of each person's hobby or interests and tried to come up with a 'thing' that I could turn into a cookie. This was the fun part. Every one has multiple talents and interests, so it was tough to pick just one for each person.

After the planning was finished, I got to work. I originally planned to put a base of white icing on each cookie, but with the other planning for the birthday party, I ran out of time and could only do the 'head' on the cookie surface. I think it worked out fine, but next time (if there ever is a next time) I definitely want an icing background on all the cookies.
I made the same round cookie for each person. The majority of the accessories are hand-cut. I did add a few flowers for our good friends that were attending the party. They didn't get a person cookie on the family tree - but they are an important part of our lives, so I considered them the flowers at the base of the tree.
Some of the cookies turned out quite a lot alike to the actual person. I think the best example is my husband Topher. Since he is a musician - his accessory is his (cut-by-hand) guitar.

Topher's head was the biggest challenge because he's got so much facial hair. I actually had him sit directly in front of me while I iced his cookie. I took the time to study how the hair fell on his hair line and around his ears. Toph has great cheeks and I wanted to be sure to get the beard, mustache area just perfect.
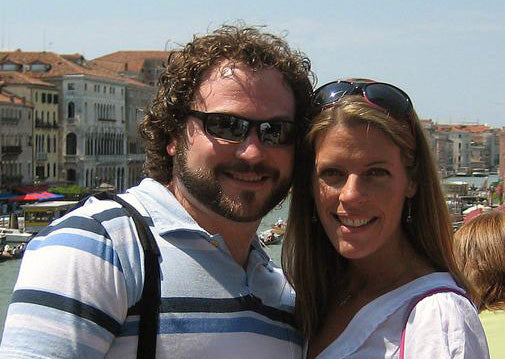
Here is the real Toph and Cookie Toph side-by-side...


The cookie is almost as cute and sweet (the real Toph edges Cookie Toph by a hair!)
After I had all the cookies baked, iced, and ready to go, I still needed a very big tree to put them on.
Since I had to fit 24 cookies + accessories + four 'friend' daisies, I decided to use a large foam board.
I scoured the internet for ideas and after much searching decided to just wing it a little and sketched our family tree whimsical just like us! This is the empty tree as I was putting on the families.
I covered the foam board in plastic so the butter from the cookies would not bleed onto the tree. Before I sketched the tree in marker, I did take the cookie cutter and plan for the spacing of the branches. You would be surprised at how much space those 3 1/2" round cookies take up...much more than I expected. So I was glad I did a little pre-planning to get the branches just right.
Everyone fit just fine. We didn't mind being a little close, after all...we are family.
I hope you've enjoyed your introduction to my family tree. Next I'll show you how I created the individual cookies and tried to incorporate the characteristics of each person on their cookie. Then later will be the really fun day when we get to chat about the accessories!
I look forward to meeting you back here soon! Until then - have a sweet day!
Anne
PS - I delivered the Flour Box Boat Tote to the winner from the 'Name that Bird' Contest. The winner was Laurie of State College. And of course I had to bring her a few of my favorite ladybug cookies. Laurie was so sweet and wonderful to meet. We have so much in common...we both love decorating cookies, our daughters have the same name, and we are both really plugged into our churches. Oh yeah...it also seems we both have a thing for tote bags. She is taking her tote to meet Mickey Mouse in Disney World this summer. I can't believe my FBB tote will be going to Disney. And speaking of that famous mouse...here is my first try at THE mouse.
Not too shabby - He was a toughie.


