How to Decorate Ballet Cookies
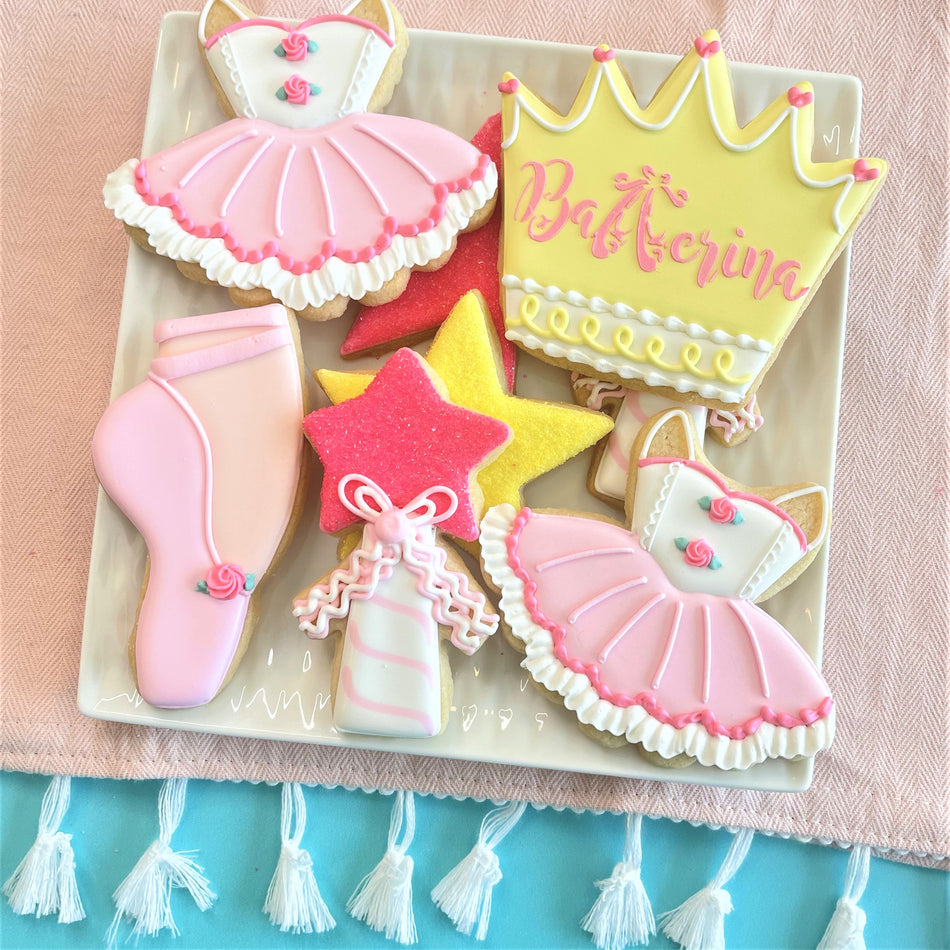


Ballet Cookie Decorating Kit
$31.77
What's included?
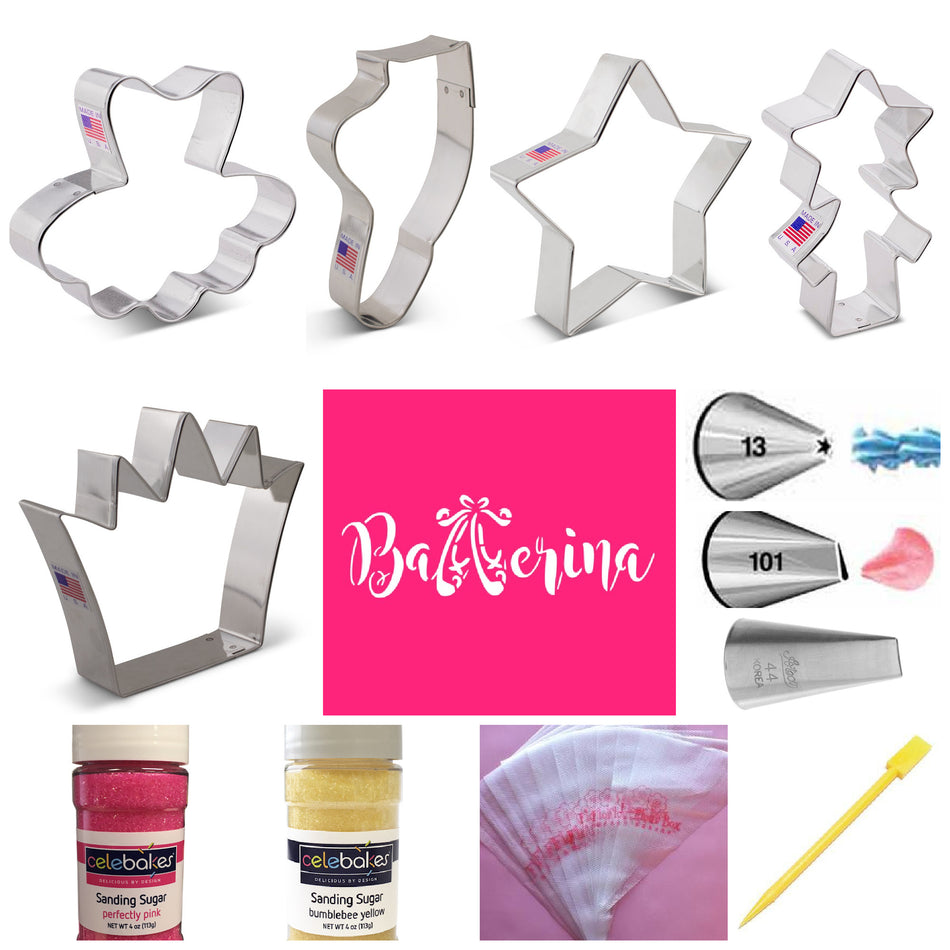
Here's a list of everything that's part of the kit - all with a 10% savings when purchased together!
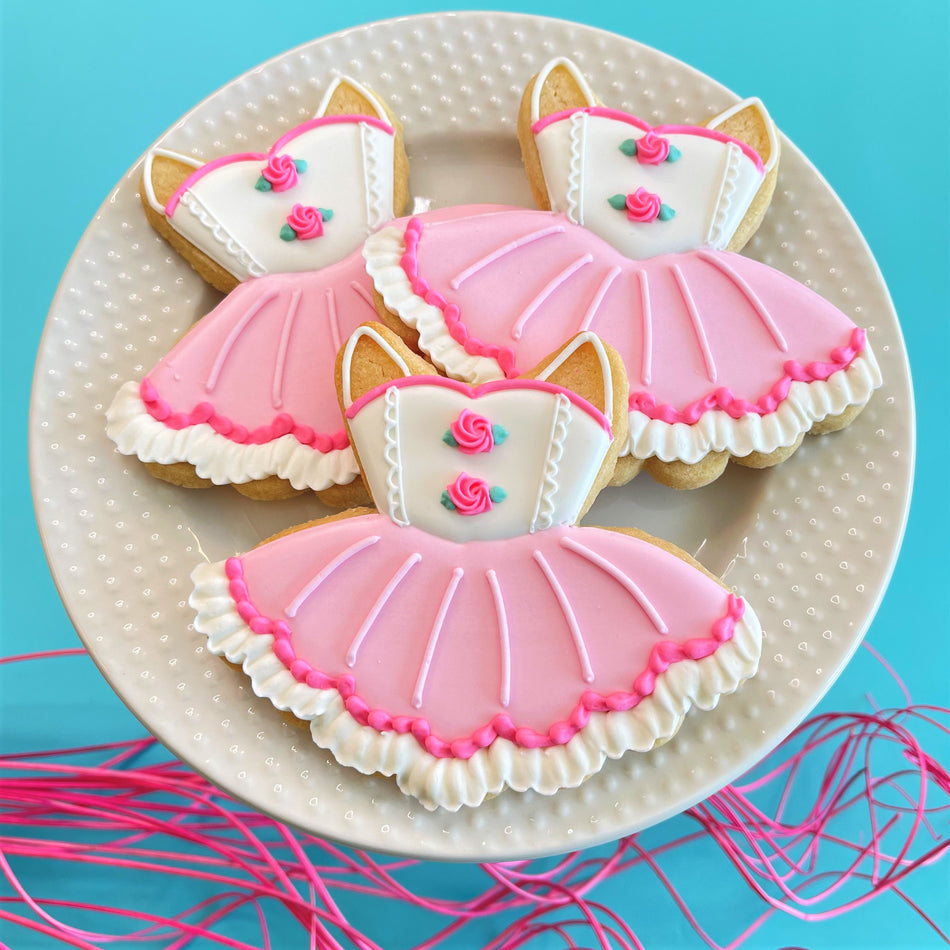
- Ballet Tutu Cookie Cutter
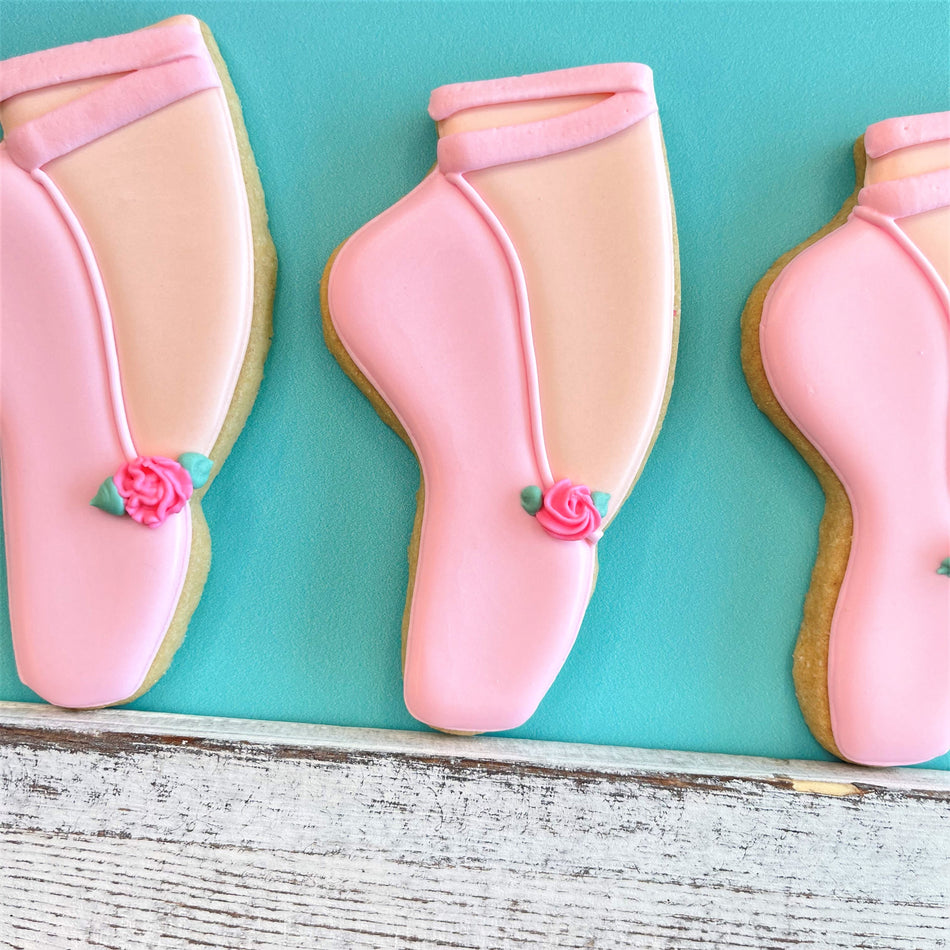
- Ballet Slipper Cookie Cutter
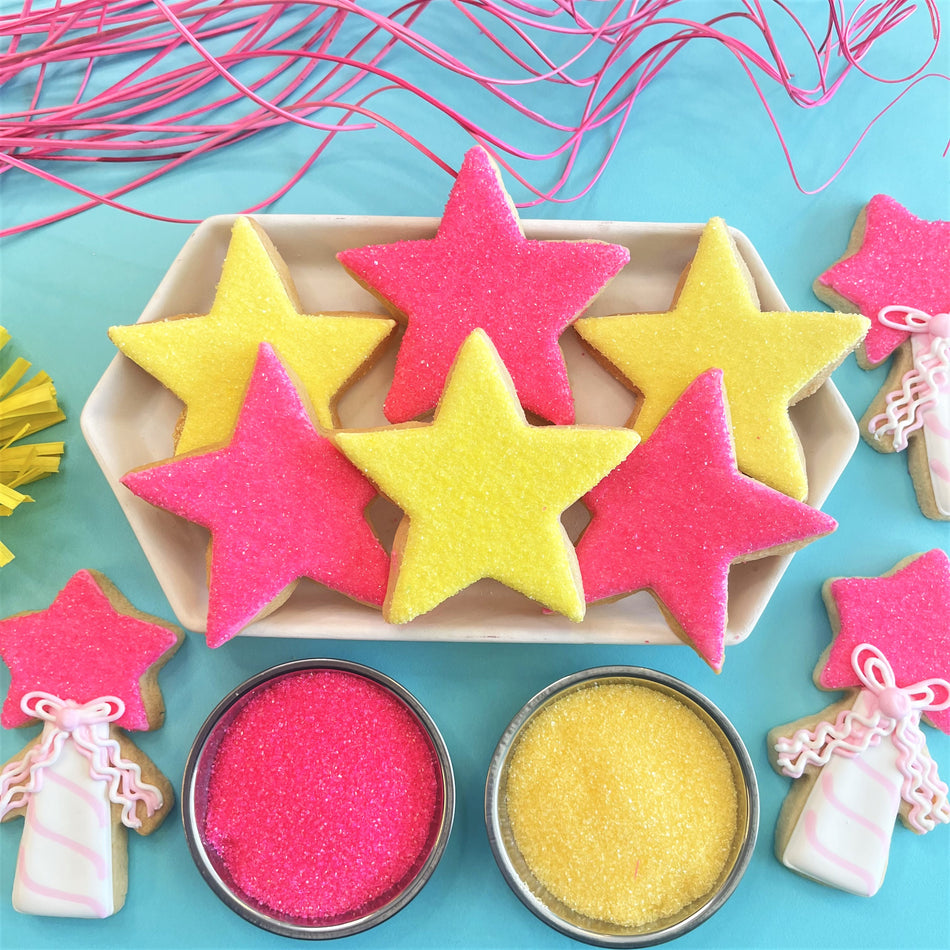
- Star 4" Cookie Cutter
- King Crown Cookie Cutter
- Magic Wand Cookie Cutter
- Ballerina Stencil
- Bumblebee Yellow Sanding Sugar SMALL Sprinkle Jar
- Wilton Tip #101 Petal
- Wilton Tip #13 Star
- Ateco Tip #44 Basketweave
- Tipless Icing Bags SAMPLE 10-Pack
Don't need all of these items?
No worries! You can buy just the items you want!
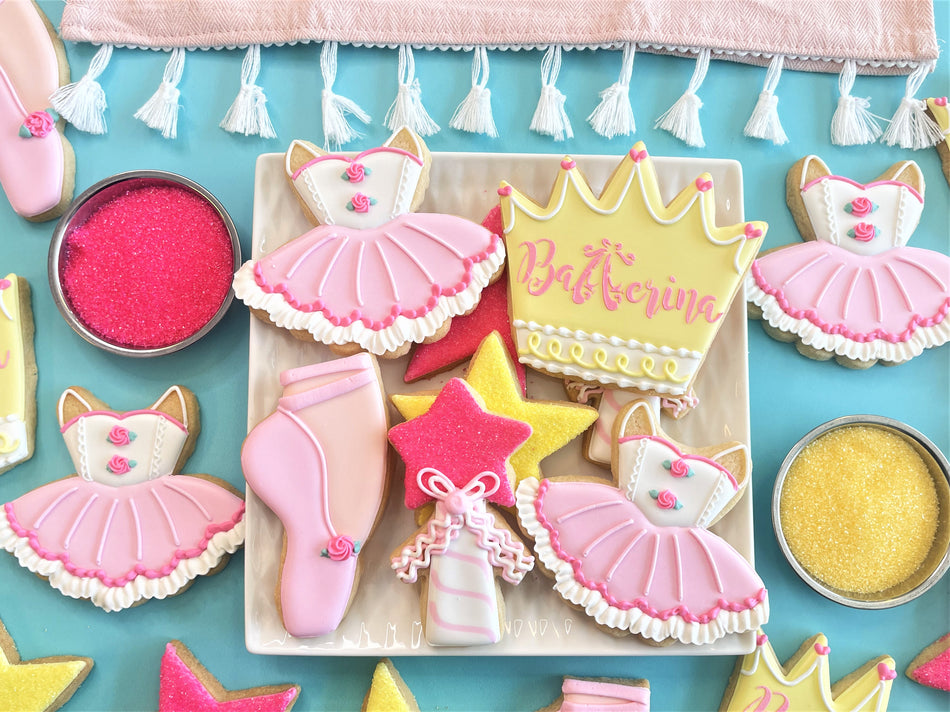
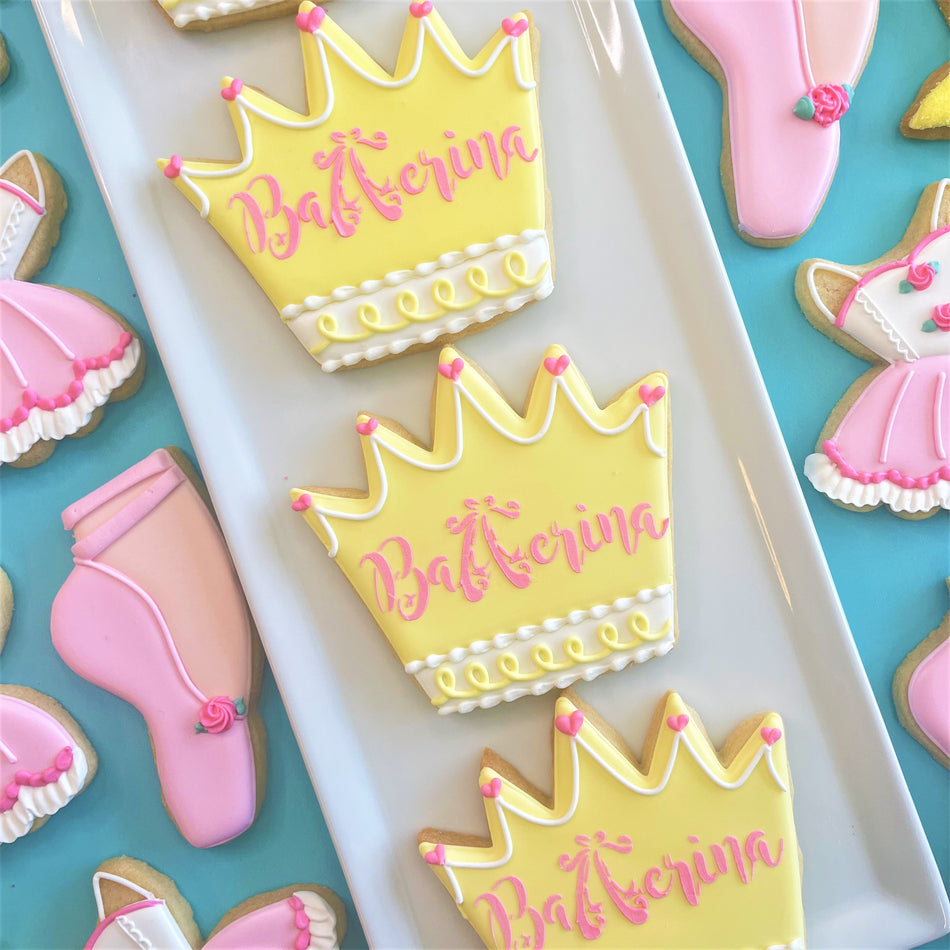
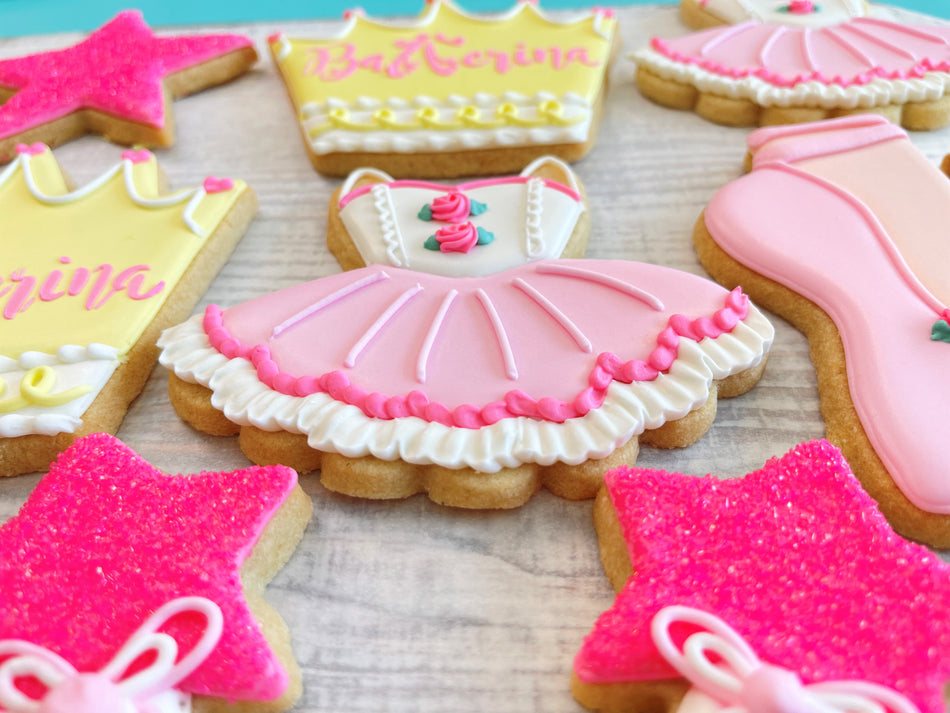
Pick what I needIt's just about Dance Recital season! Make a special cookie gift with all five designs for your sweet dancer. Or choose one design to use as a gift for the instructor. Cookie favors for show day are also a great way to say 'Bravo!' to all the students in the class!

This Tutu cookie is one of my favorites of all time! The ruffle and pretty details make this a fun cookie to make AND eat!

This kit has a fun mix of dance and princess cutters! To go with the dance theme, the ballet slipper is included.

Cookie Yield
With a single batch of dough, you can make about 18-22 average sized cookies. I should note that I roll my cookies to 1/4" thick using the Dough EZ Rolling Mat System. The thickness of your cookies will impact your yield.
COOKIE RECIPE: For a cookie recipe and rolling and baking video CLICK HERE - this recipe can be doubled in a KitchenAid Mixer.
Prepping the Royal Icing

For a single batch of dough, I typically use a single batch of icing. Since I'm using a KitchenAid mixer, I made a double batch of icing and split it in half (reserving half for another project).
ICING GUIDE

Use this list to know what icing consistencies are needed for each set.
Pastel Lemon Yellow - 5 oz (pipe and flood)
Light Rose Pink - 6 oz (pipe and flood)
Medium Rose Pink - 4 oz (pipe and flood)
White - 4 oz (pipe and flood)
Forest Green - 1 oz (pipe only)
Sienna** - 3 oz (pipe and flood) Are you looking to personalize the skin tones? Create many shades and skin tones using the sienna and/or buckeye brown food gels. Use them individually or mix them together to make different skin tones.
These amounts are ESTIMATES. When it comes to how much icing to make, l don't measure exactly...I estimate. For a more detailed look at icing planning, CLICK HERE to read this helpful blog post.

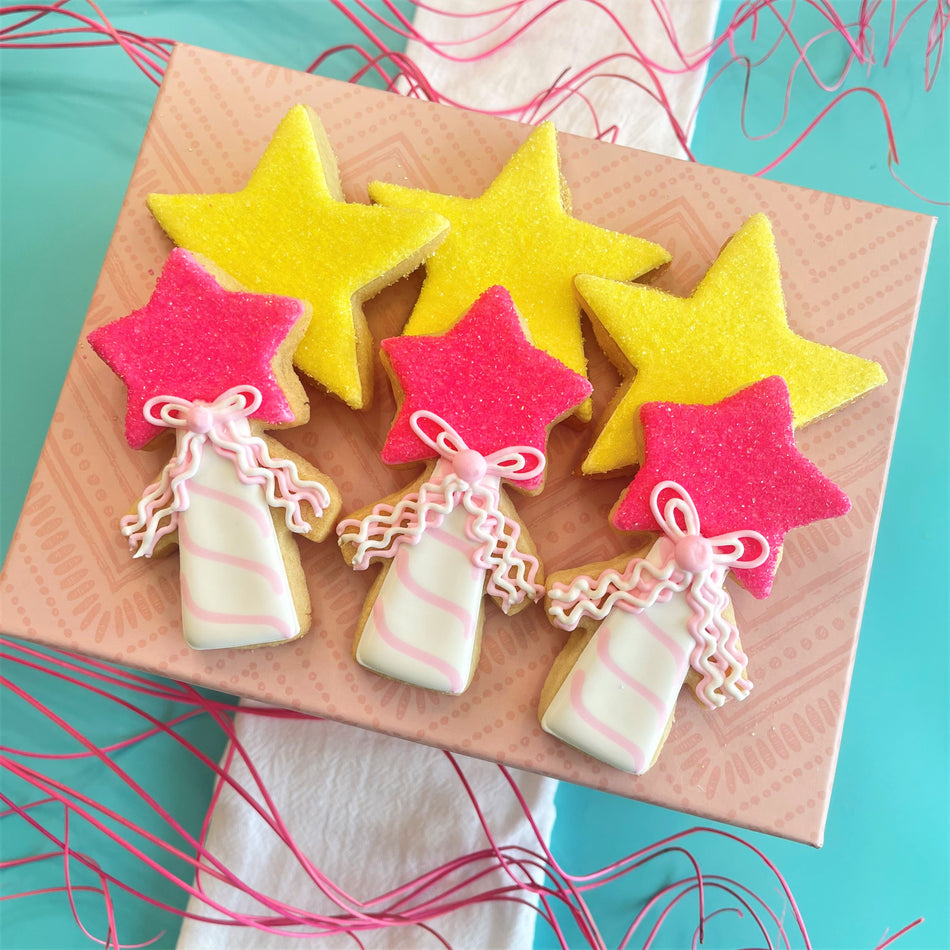
A tip for using sanding sugar. Allow the base icing to set up for 60 seconds before pouring on the sugar. Allowing just a little 'set up' time will prevent the sugar from sinking into the wet icing. When the cookie icing is completely covered with sugar like this, it will take a little longer to dry (not as much air flow is getting to the actual icing). So allow at least 18-24 before packing these cookies. Otherwise, they might be a little soft to the touch.
ROYAL ICING RECIPE

For a royal icing recipe and video CLICK HERE - this recipe can be doubled in a KitchenAid Mixer.
Project Timeline
Plan ahead to enjoy the most success with your cookie project! I break up the decorating process. It works better with my life to do a little each day. Here is the schedule for this cookie project and estimated times on how long each phase takes.
DAY 1
Mix Dough (30 mins), Chill Dough (2 hours inactive time), Roll and Bake (1 hour), Mix Royal Icing and Prep Icing Colors - it is helpful to make the colors the day before you decorate because the color will deepen overnight. (1 hour).

DAY 2
Outline and Flood Cookies (1-2 hours), Allow to dry in front of fan before adding details (1 hour for standard cookies, but 6 hours before stenciling on the surface of the cookie). Piping details and stenciling (2 hours). The details take a little extra time due to drying the apple layers in the bushel and the cart.
**ALLOW COOKIES TO FULLY DRY 18-24 HOURS BEFORE PACKING. STORE IN A COOL OVEN OVER NIGHT.**
DAY 3
For tips on packing cookies, CLICK HERE to check out this helpful blog post with links to my favorite packing and shipping materials.
Recreate these!
Pick up the Kit! It's got the essential cutters and stencil and a few bonus tools!

Common Tools Needed Not Included in the Kit
(Watch the video to see what is required for each cookie design. All tip numbers are noted!)- Food Gels (see above color guides for a list)
- 11 Icing Bags (5 large for flood icing and 6 medium for piping)
- 6 Tip #2 (PME or Wilton brand)
- 1 Tip #1 PME (for the pinstripes, threading on hat, and bat text)
- 6 Couplers
- Royal Icing Scraper
- Stencil Genie (optional for stenciling)
Pin this Post and Tag Me!

I would be so flattered if you recreated these cookies! Be sure to tag @theflourboxshop or use hashtag #theflourbox so I can see what you create!
More Inspiration and Videos!
I have loved making ballet cookies over the years! Here are more ideas and inspiration using some of these same or similar cutters!

Lots of pastel ruffles!

For a Princess and the Frog dance routine!

Tap dancing to 50s music!

Itty bitty scallops also make pretty ruffles!

Sweet ballerinas!

Sweet BUNNY ballerinas!
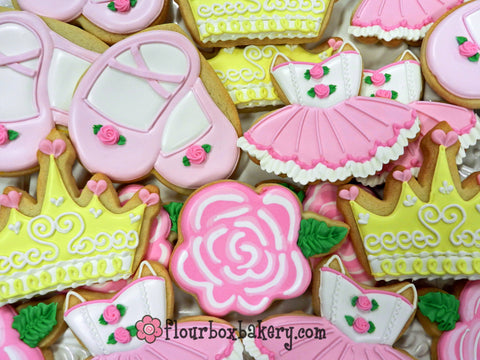
An entire set of pretty ballet cookies!

Stenciled ballet shoes!
Here's the video:
Happy Decorating!
Anne
