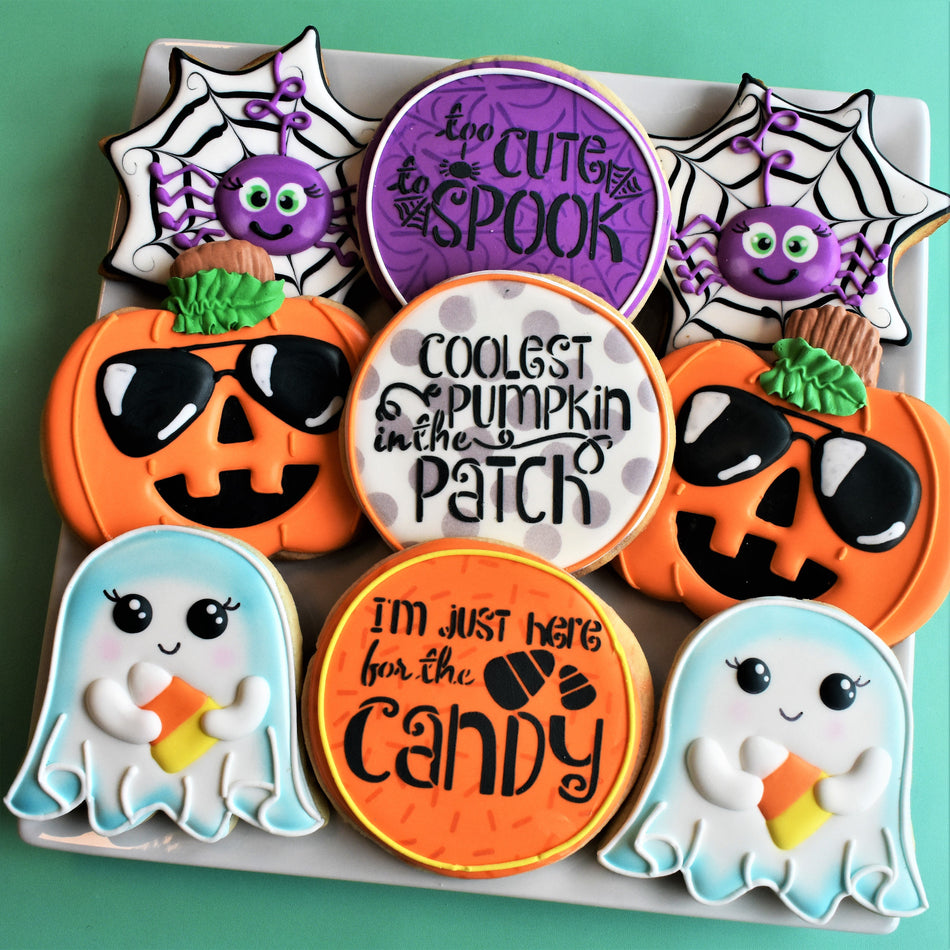
How to Decorate Cute Halloween Cookie Sets (with KIT!)
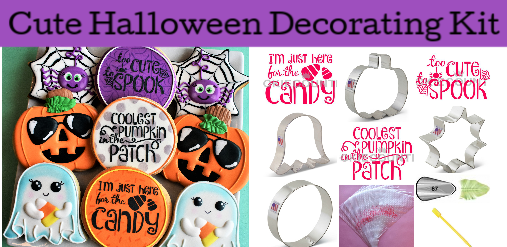
Cute Halloween Cookie Decorating Kit
$30.87
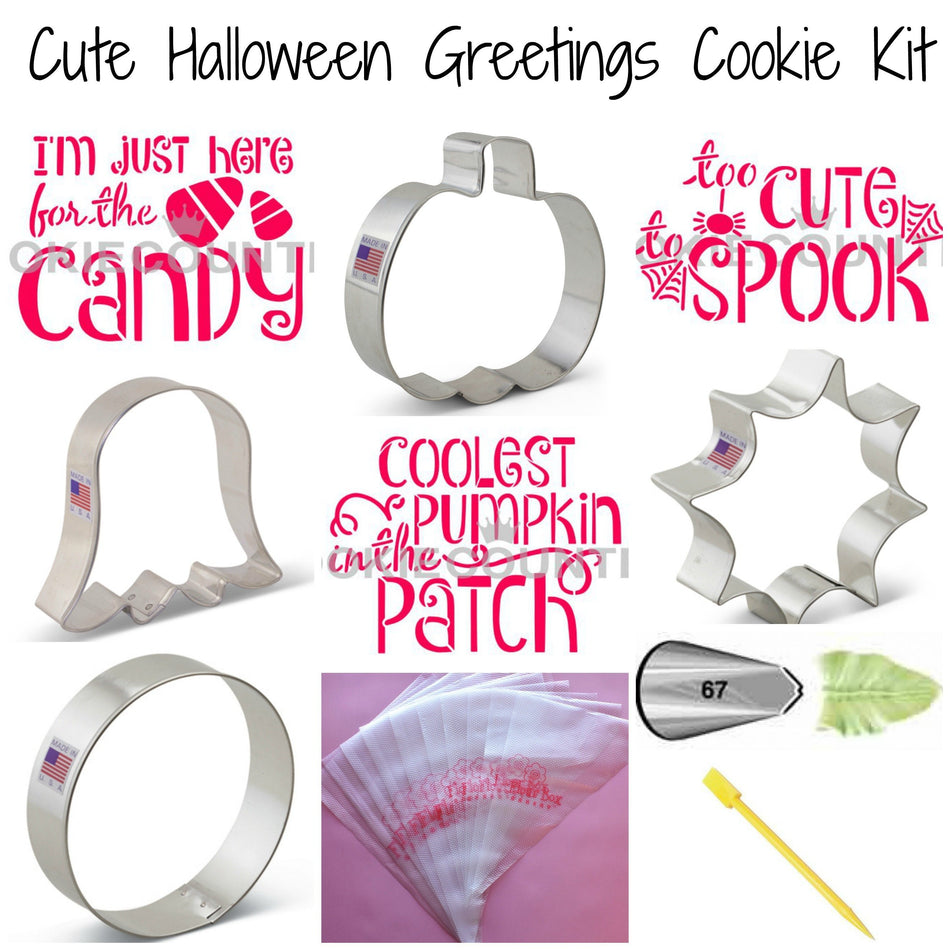
What's included?
Here's a list of everything that's part of the kit - all with a 10% savings when purchased together!
- 3.5" Circle Cookie Cutter
- Coolest Pumpkin in the Patch Stencil
- Ghost/Tulip Cookie Cutter
- I'm Just Here for the Candy Stencil
- Pumpkin 4" Cookie Cutter
- Spider Web Cookie Cutter
- Too Cute to Spook Stencil
- Wilton Tip #67 Leaf
- Tipless Icing Bags SAMPLE 10-Pack
Don't need all of these items?
No worries! You can buy just the items you want!
Pick what I needThis Halloween, impress your party guests and trick-or-treaters with adorable Halloween cookie sets! For this tutorial, I’m so excited to show you step-by-step how to make 3 adorable Halloween designs that pair with a stencil. The designs work well as a collection or in pairs to make cute cookie box sets!

Cookie Yield
COOKIE YIELD:
These cookies are all in the 3’ – 3.5” size range. With a single batch of dough I made 15 cookies. I should note that I roll my cookies to 1/4" thick using the Dough EZ Rolling Mat System. The thickness of your cookies will impact your yield.

COOKIE RECIPE:
For a cookie recipe and rolling and baking video CLICK HERE - this recipe can be doubled in a KitchenAid Mixer.
Prepping Royal Icing
For this tutorial let me break down each set by color

For the pumpkin, I used Sunset Orange, Buckeye Brown, Black Diamond, Bright White, and Leaf Green.

For the spider, I used Purple, Black Diamond, and Bright white…and a teeny tiny bit of green on the spiders eyes.

For the ghost, I used Bright White, Black Diamond, Sunset Orange, and Lemon Yellow.
For a single batch of dough, I typically use a single batch of icing. Since I'm using a KitchenAid mixer, I made a double batch of icing and split it in half (reserving half for another project).
I don't measure exactly...I estimate. For a more detailed look at icing planning, CLICK HERE to read this helpful blog post.
ROYAL ICING RECIPE
For a royal icing recipe and video CLICK HERE - this recipe can be doubled in a KitchenAid Mixer.
Free Templates and Royal Icing Transfer Sheets
This kit comes with FREE templates. Each cookie (ghost, spider, and pumpkin) have a digital template. These are great to use with a cookie projector (like a KopyKake or a Pico).
I have also created a royal icing transfer sheet for the candy corn, spider, and aviator sunglasses in case it helpful to make this icing accents ahead of time. After you mix icing colors, I suggest making your transfers and allowing them to dry overnight. I find royal icing transfers are also a great alternative to using a cookie projector! It’s lower cost and super easy! Watch how I used a royal icing transfer to make the cute ghost holding a candy corn.
Project Timeline
I like to break up the decorating process. Because there are several phases to decorated cookies, it works better with my schedule to do a little each day. Here is the schedule for this cookie project and estimated times on how long each phase takes.
Day 1
Mix Dough (30 mins), Chill Dough (2 hours inactive time), Roll and Bake (1 hour), Mix Royal Icing and Prep Icing Colors - it is helpful to make the colors the day before you decorate because the color will deepen overnight (1 hour). Make royal icing transfers (30 mins).
Day 2
Outline and Flood Cookies (1-2 hours), Allow to dry in front of fan before adding details (1 hour for standard cookies, but allow 6 hours of dry time on the cookies stenciled with royal icing or with the foodoodler), Piping details, and stenciling (1.5-2.5 hours)
**ALLOW COOKIES TO FULLY DRY 18-24 HOURS BEFORE PACKING. STORE IN A COOL OVEN OVER NIGHT.**
Day 3
For tips on packing cookies, CLICK HERE to check out this helpful blog post with links to my favorite packing and shipping materials.
Stenciling Bonus Tip
It wasn’t too much more work to airbrush a quick background on the stenciled cookies. I loved the quick pattern behind the words.
I kept the backgrounds light enough to make sure the text was still easy to read. Don’t you think those easy backgrounds make a big impact? These background stencils are not available in the kit, but can be purchased separately.
Packaging Tips
I have two great packaging suggestions for these cookies. You can pack the cookies individually and use the 14” window box from BRP to sell or give the cookies as a collection.

These cookies also make great cookie sets. You can fit 2-3 cookies in the 9” window box.

Recreate these!
I would be so flattered if you recreated these cookies! Be sure to tag @flourboxshop or use hashtag #theflourbox so we can see what you create!
Happy Decorating!


