How to Decorate Happy Easter Bunny Cookies
Happy Easter Cookie Decorating Kit
$30.79
What's included?
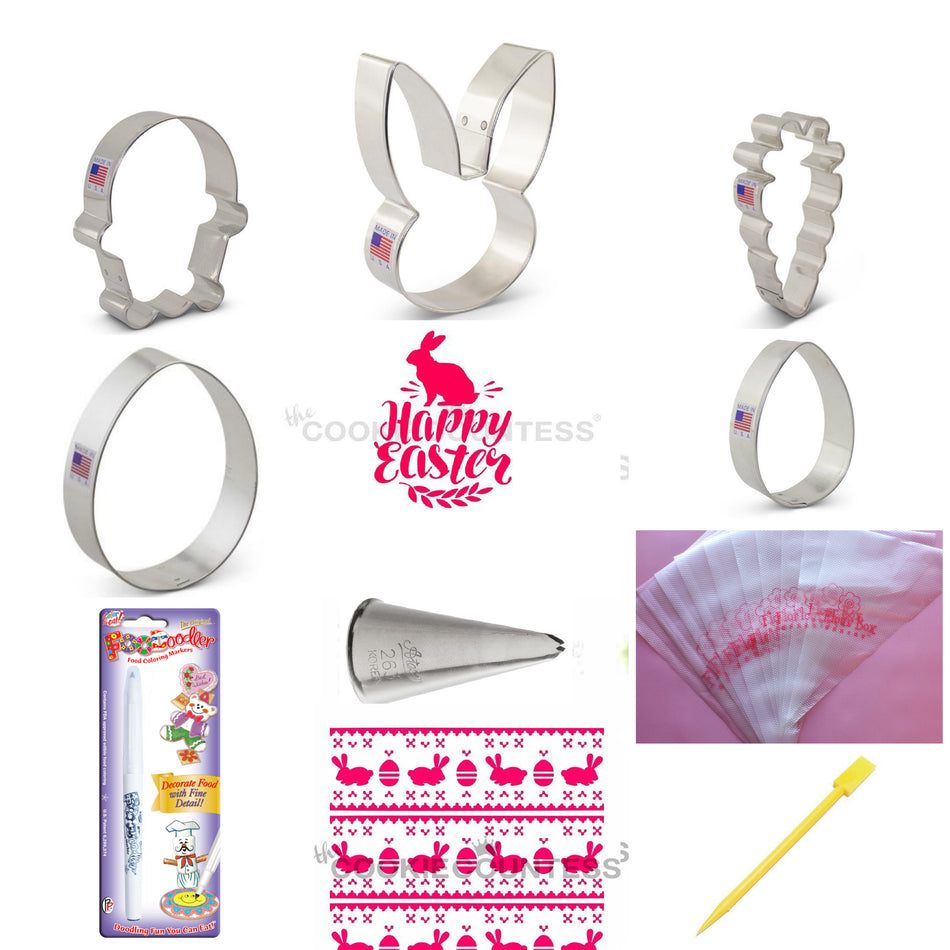
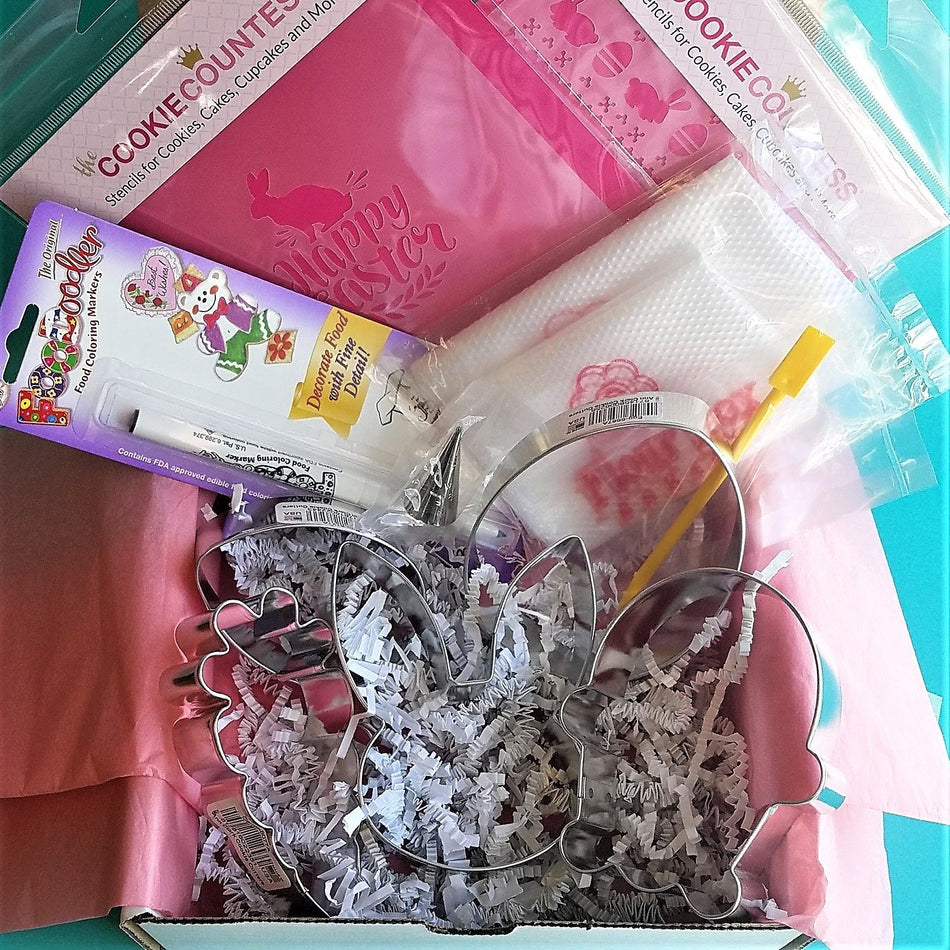
Here's a list of everything that's part of the kit - all with a 10% savings when purchased together!
- 3" Egg Cookie Cutter
- 4" Egg Cookie Cutter
- Bunny Face Cookie Cutter by The Flour Box
- Carrot Cookie Cutter
- Easter Basket Cookie Cutter by The Flour Box
- Ateco Tip #263 (similar to #65s) Small Leaf
- FooDoodler Black Fine Line Marker
- Easter Fair Isle Stencil
- Happy Easter with Bunny Stencil
- Tipless Icing Bags SAMPLE 10-Pack
Don't need all of these items?
No worries! You can buy just the items you want!
Pick what I needGETTING STARTED
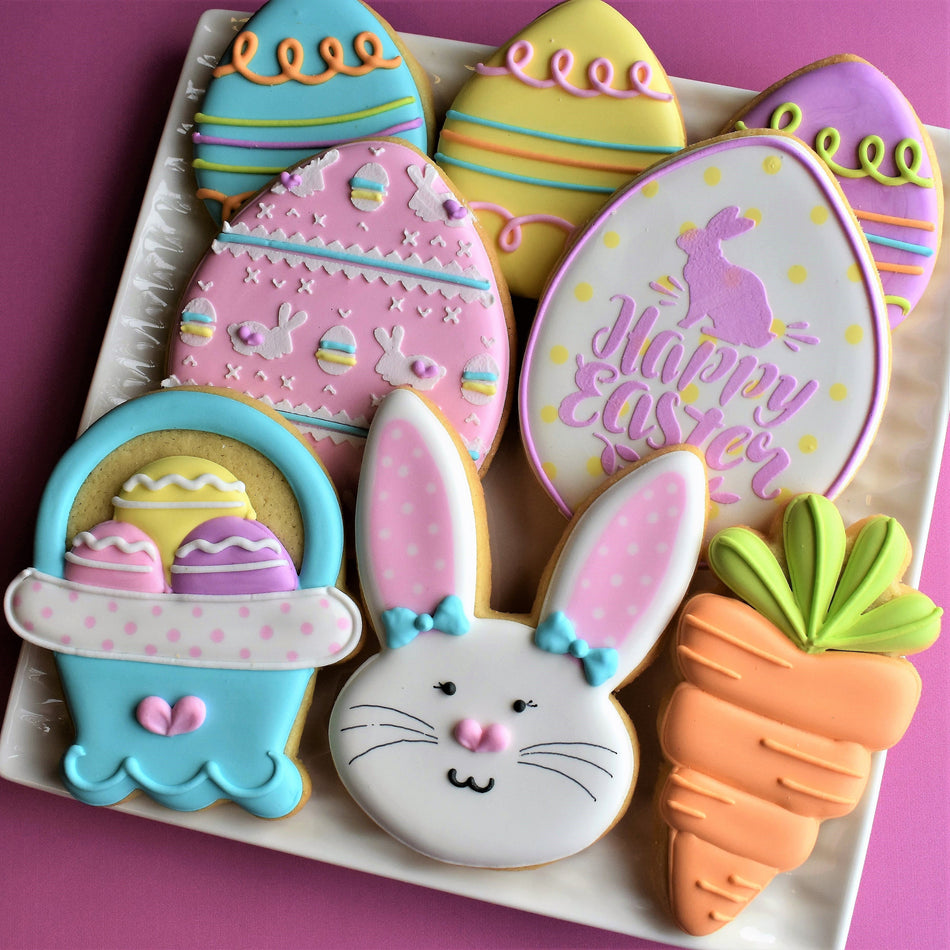
I love decorating EASTER cookies!! And this year, I had the pleasure of DESIGNING my own Easter cookie cutter with Ann Clark Cookie Cutters - a cute bunny face! So, I've created this amazing tutorial to teach you how to make this cute cookie set. And...you can recreate it with the NEW Easter Cookie PROJECT KIT.
Let's jump in! This video tutorial features the bunny, carrot, basket, and 2 stenciled eggs. I provide templates for these cookies. These are helpful in recreating these cookies if you like to use a projector! But you'll see in the video that I'm piping them freehand because it's a faster way of decorating.
PREPPING THE COOKIES:
COOKIE YIELD: For a single batch of dough I made 20 regular sized cookies (4 of each design). I should note that I roll my cookies to 1/4" thick using the Dough EZ Rolling Mat System. The thickness of your cookies will impact your yield.
COOKIE RECIPE: For a cookie recipe and rolling and baking video CLICK HERE - this recipe can be doubled in a KitchenAid Mixer.
DECORATING TIPS:
SPECIAL TOOLS: In this set I use Wilton Tip #65s to make the bows on the bunny's ears. The bows work best with a thicker icing because it will hold its shape. I used the Ultra Fine Black Foodoodler to make the whiskers. Be sure to let the base icing dry 4-6 hours, otherwise that tip might poke through the surface.

PREPPING THE ROYAL ICING:
ICING PREP
For a single batch of dough, I typically use a single batch of icing. I separated the icing in equal amounts for each color, except the black. I needed just an ounce of that. I don't measure icing exactly...I estimate. For a more detailed look at icing planning, CLICK HERE to read this helpful blog post.
ROYAL ICING RECIPE
For a royal icing recipe and video CLICK HERE - this recipe can be doubled in a KitchenAid Mixer.
ICING COLORS
On this project, I wanted my PASTELS to have POP! So, I used the ChefMaster food neon gel set + Bright White.
The Neon set includes: Neon Brite Purple, Neon Brite Yellow, Neon Brite Green, Neon Brite Pink, Neon Brite Blue, and Neon Brite Orange.
PLANNING YOUR PROJECT TIMELINE:
(I like to break up the decorating process as follows. It fits better in my life than tackling everything in one day. Times based on a single batch of cookies, increase as needed):
Day 1 PREP COOKIES AND ICING
Mix Dough (30 mins), Chill Dough (2 hours inactive time), Roll and Bake (1 hour), Mix Royal Icing and Prep Icing Colors (1 hour)
Day 2 DECORATE
Outline and Flood Cookies (1-2 hours), Allow to dry in front of fan before adding details (1 hour for standard cookies, but allow 6 hours of dry time on the cookie stenciled with royal icing or if using the foodoodler), Piping details and stenciling (1-2 hours)
**ALLOW COOKIES TO FULLY DRY 18-24 BEFORE PACKING. STORE IN A COOL OVEN OVER NIGHT.**
Day 3 PACKING COOKIES
For tips on packing cookies, CLICK HERE to check out this helpful blog post with links to my favorite packing and shipping materials.
PACKAGING AND BOXING YOUR COOKIES:
A set of 3 cookies fits really well in the www.brpboxshop.com 9" white window box.
If you're looking to pack a dozen and have a mix of small (like the 3" egg and carrot) and regular sized cookies, try the 12" white window box!
If you're looking to pack a dozen or more regular sized cookies, try the 14" white window box!
I want to see what you make! So be sure to tag @Flourboxbakery on Instagram and Facebook and use #flourboxbakery so I can see what you create!
Happy Decorating!
Anne


