How to Decorate Happy Love Note Cookies
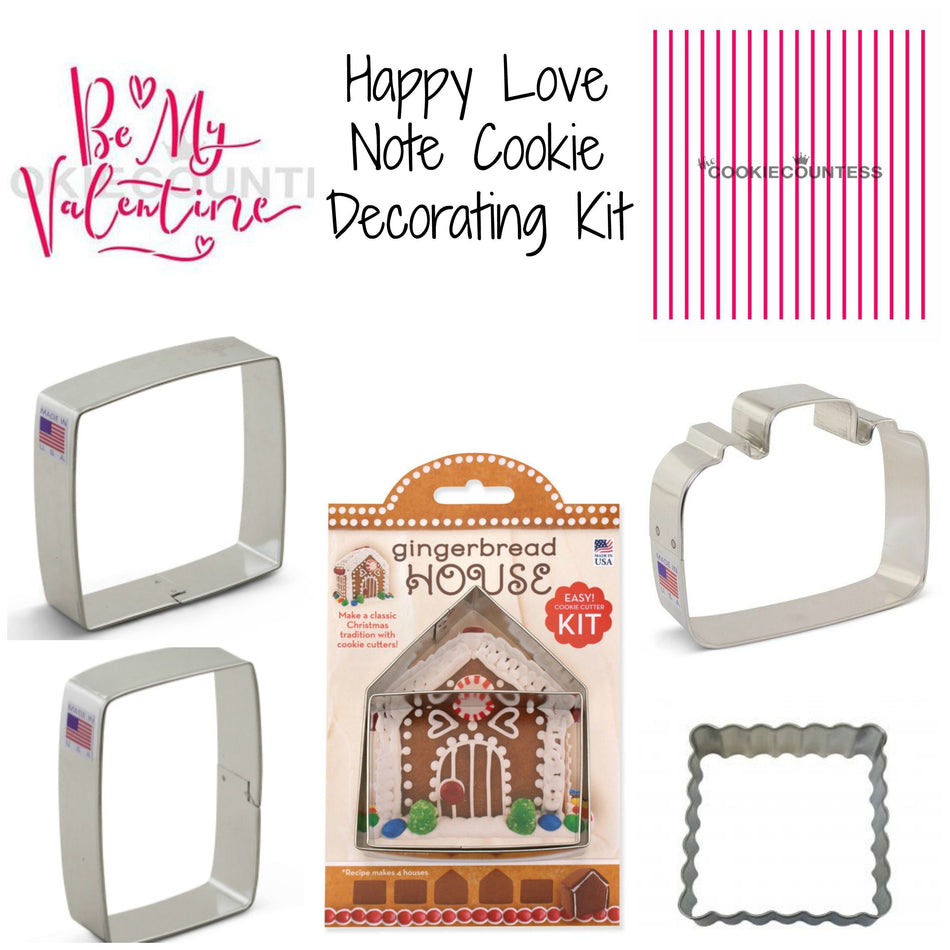
Happy Love Note Cutter & Stencil Kit
$28.63
What's included?
Here's a list of everything that's part of the kit - all with a 10% savings when purchased together!
- Tipless Icing Bags SAMPLE 10-Pack
- Rectangle Cookie Cutter
- Pinstripes Stencil
- Square 3.5" Cookie Cutter
- Camera Cookie Cutter by The Flour Box
- Be My Valentine Stencil Cookie Countess
- Square Fluted Cookie Cutter
Don't need all of these items?
No worries! You can buy just the items you want!
Pick what I needLast week, Topher and I were cleaning out our storage room and we came across a box labeled 'Love Notes from Anne'. So many sweet thoughts from when we were dating and early in our marriage. I don't draft as many notes these days, but maybe I should. For now, at least, I'm drafting them in cookies!
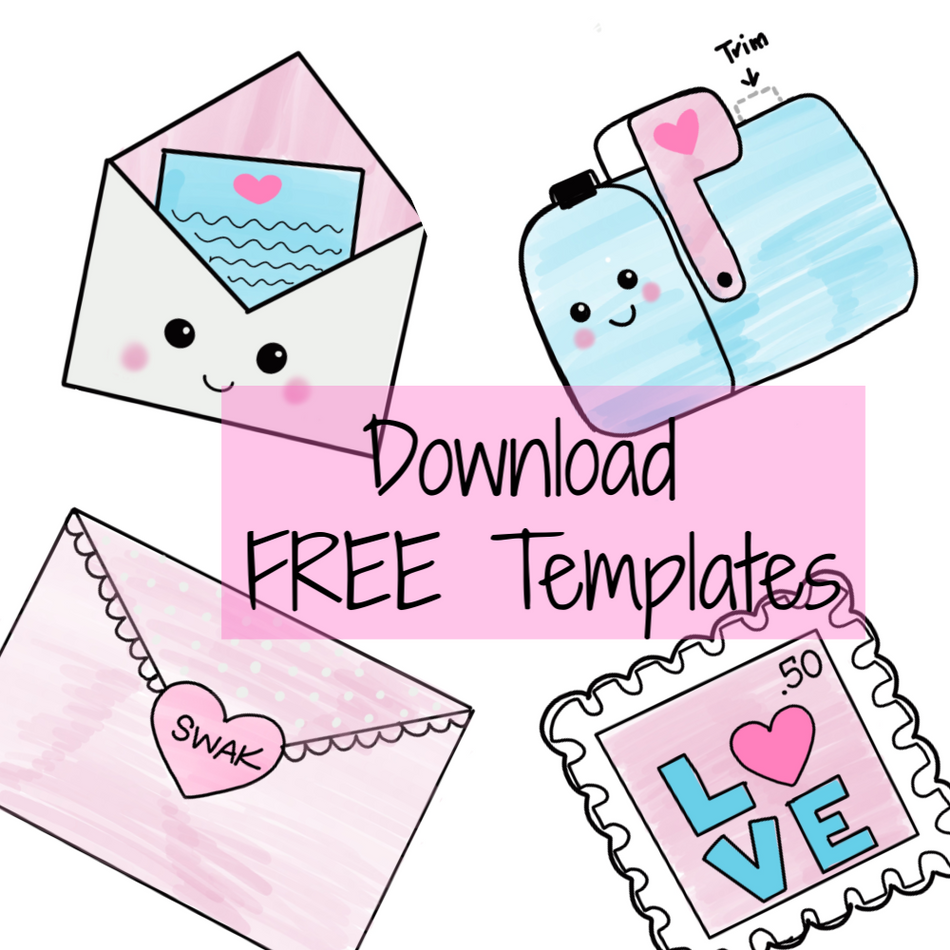
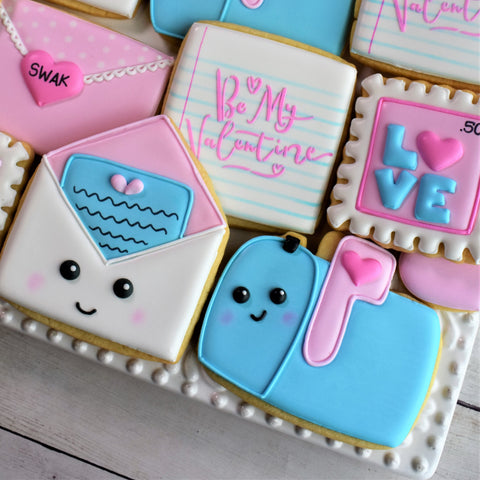
This tutorial mainly focuses on these three cookies, the Happy Envelope, the Mailbox, and the Be My Valentine cookie. I provide templates for them below, and include two bonus templates for the LOVE Stamp Cookie and the SWAK Envelope Cookie. These are helpful in recreating these cookies!
PREPPING THE COOKIES:
COOKIE YIELD:
For a single batch of dough I made 17 regular sized cookies (4 mailboxes, 4 Love Stamps, 3 Happy Envelopes, 3 Be My Valentine Notes, and 3 SWAK Envelopes) and 8 mini heart cookies. I should note that I roll my cookies to 1/4" thick using the Dough EZ Rolling Mat System. The thickness of your cookies will impact your yield.
COOKIE RECIPE:
For a cookie recipe and rolling and baking video CLICK HERE - this recipe can be doubled in a KitchenAid Mixer.
**one baking note on this project. I used the Camera Cookie Cutter to make the cute mailbox and trimmed a small section...check it out...
DECORATING TIPS:
TEMPLATES:
In the video you might have noticed that the envelope and mailbox had traced yellow guidelines on it. You can trace guides or even use a projector. Download the zip file for all four of the FREE templates for these cookies - CLICK HERE
STENCILS and AIRBRUSH:
This set features the Pinstripes Stencil and Be My Valentine Stencil. They are also available as a set with the cutters in the 'Happy Love Note Decorating Bundle'. I used a scraper tool to stencil the Be My Valentine. I used the Cookie Countess Airbrush System to create the Be My Valentine Note. I mixed White airbrush color with Hawaiian Blue to get the pastel blue. I also used a stencil blocker from the 6pc Banner Masks set. You can use one of these masks, or even just cut a piece of paper to block the color at the top of the note.
SPECIAL TOOLS:
In this set I use the Carnation Pink Crystal Color and a round food safe brush from the 5pc Wilton Set to blush the cheeks on the mailbox and the Happy Valentine Envelope.
PREPPING THE ROYAL ICING:
ICING PREP:
For a single batch of dough, I typically use a single batch of icing. Since I'm using a KitchenAid mixer, I made a double batch of icing and split it in half (reserving half for another project). I use approximately 5 oz of white icing, 5 oz of sky blue icing, 5 oz of light pink icing, 2 oz of dark pink icing, and 2 oz of black icing. A total of 19 oz of icing. I don't measure exactly...I estimate. For a more detailed look at icing planning, CLICK HERE to read this helpful blog post.
ROYAL ICING RECIPE: For a royal icing recipe and video CLICK HERE - this recipe can be doubled in a KitchenAid Mixer.
ICING COLORS:
On this project I used ChefMaster food gels: Bright White, Super Black, Deep Pink for both the light and dark pinks (a very small dot for the light pink and a larger dot for the darker pink), and Sky Blue. CLICK HERE to check out all the food gel options in our shop.
PLANNING YOUR PROJECT TIMELINE:
(I like to break up the decorating process as follows. It fits better in my life than tackling everything in one day. Times based on a single batch of cookies, increase as needed):
Day 1 PREP COOKIES AND ICING:
Mix Dough (30 mins), Chill Dough (2 hours inactive time), Roll and Bake (1 hour), Mix Royal Icing and Prep Icing Colors (1 hour)
Day 2 DECORATE:
Outline and Flood Cookies (1-2 hours), Allow to dry in front of fan before adding details (1 hour for standard cookies, but allow 6 hours of dry time on the cookie stenciled with royal icing), Piping details and stenciling (1-2 hours)
**ALLOW COOKIES TO FULLY DRY 18-24 BEFORE PACKING. STORE IN A COOL OVEN OVER NIGHT.**
Day 3 PACKING COOKIES:
For tips on packing cookies, CLICK HERE to check out this helpful blog post with links to my favorite packing and shipping materials.
PACKAGING AND BOXING YOUR COOKIES:
A set of 3 cookies fits really well in the www.brpboxshop.com 9" white window box.
If you're looking to pack a dozen, try the 14" white window box!
I want to see what you make!
So be sure to tag @Flourboxbakery on Instagram and Facebook and use #happylovenote so I can see what you create!
Happy Decorating!
Anne


