How to Decorate Unicorn Birthday Party Cookies
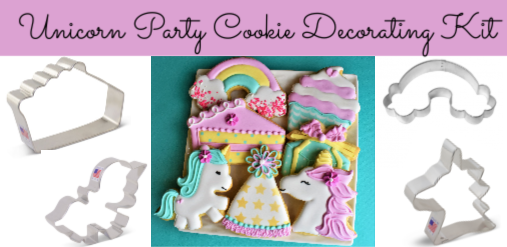
Unicorn Party Cookie Decorating Kit
$33.10
What's included?
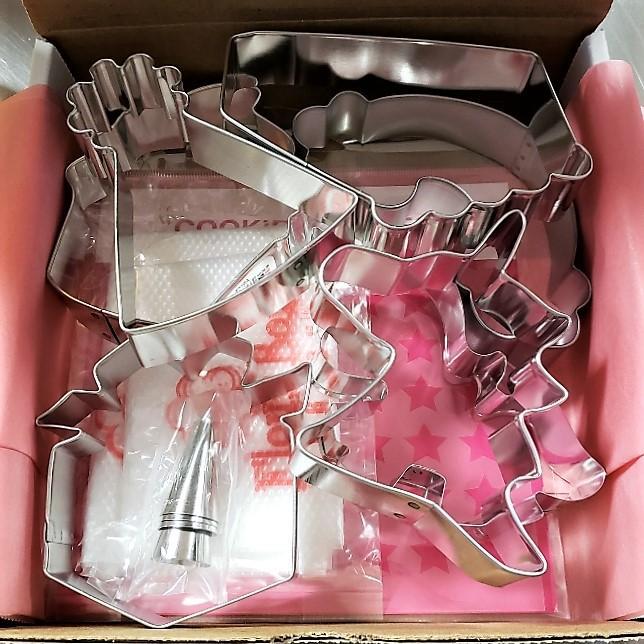
Here's a list of everything that's part of the kit - all with a 10% savings when purchased together!
- Birthday Hat with Pom Pom Cookie Cutter
- Cupcake with Swirl Cookie Cutter
- LilaLoa Cute Unicorn Cookie Cutter
- Pie/Cake Slice Cookie Cutter
- Present Cookie Cutter
- Rainbow with Clouds New Cookie Cutter
- Unicorn Head Cookie Cutter
- Stars Stencil
- Tipless Icing Bags SAMPLE 10-Pack
- Ateco Tip #44 Basketweave
- Wilton Tip #129 Drop Flower
- Wilton Tip #13 Star
- Wilton Tip #67 Leaf
Don't need all of these items?
No worries! You can buy just the items you want!
Pick what I needGetting Started
You know it's going to happen. You're going to get an opportunity to make adorable Unicorn Party cookies for a precious little girl's birthday. Here's everything you need to know to make that little girl's eyes sparkle!
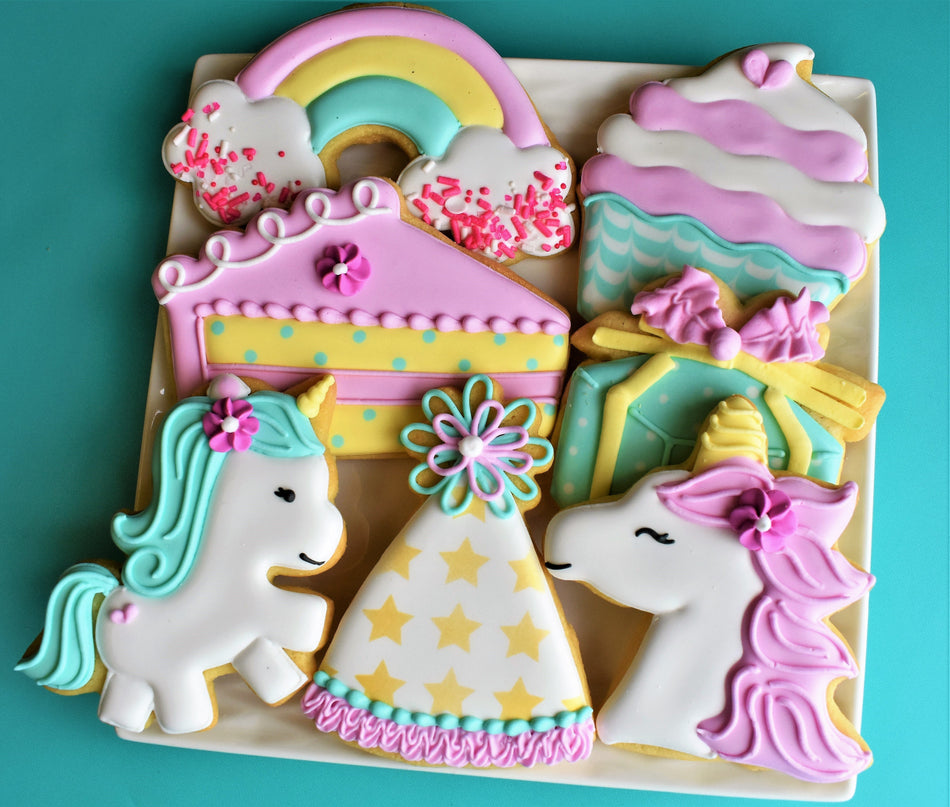
This tutorial features SEVEN cookies…and some of them are so quick and easy! Here’s what you’ll see: Unicorn Head, Cute Unicorn, Rainbow, Cake Slice, Present, Party Hat with Pom Pom, and Cupcake.
Cookie Yield
For a single batch of dough I made 21 of these cookies, 3 of each design. I should note that I roll my cookies to 1/4" thick using the Dough EZ Rolling Mat System. The thickness of your cookies will impact your yield.

COOKIE RECIPE: For a cookie recipe and rolling and baking video CLICK HERE - this recipe can be doubled in a KitchenAid Mixer.
Prepping the Royal Icing
ICING PREP
For a single batch of dough, I typically use a single batch of icing. Since I'm using a KitchenAid mixer, I made a double batch of icing and split it in half (reserving half for another project).
I used approximately 8 oz of white icing, 4 oz of pastel fuchsia, 1 oz of stiff dark fuchsia (drop flowers) 4 oz of pastel teal, 3 oz of pastel golden yellow, and 1 oz of black icing. A total of 21 oz of icing. I don't measure exactly...I estimate. For a more detailed look at icing planning, CLICK HERE to read this helpful blog post.
ROYAL ICING RECIPE
For a royal icing recipe and video CLICK HERE - this recipe can be doubled in a KitchenAid Mixer.
ICING COLORS
On this project I used ChefMaster food gels: Bright White, Super Black, Fuchsia for both the light and dark pinks (a very small dot for the light pink and a larger dot for the darker pink), Golden Yellow and Teal. Since i'm using pastels, I add only a drop of food gel to keep those colors light. CLICK HERE to check out all the food gel options in our shop.
Decorating Tips
Using Specialty Icing Tips
I love the texture of this set, created by exploring with different tip sizes. I used Star Tip #13 for the ruffle at the bottom of the party hat -

The cute drop flower on the cake slice is created with tip #129. The pink bow on the gift box is created with tip #67. And the wide yellow ribbons is created with tip #44.
Adding the Sparkle
This is totally optional. The rainbow will look cute without sprinkles. But I decided to add sprinkles to the clouds on the rainbow. I did two different versions and love them both. On the first cloud, I used the stars from the Unicorn Sprinkle Mix. One the second cloud, I used a sprinkle mix. Quick, fun, and yummy.
Check out all our sprinkle sets and mixes - click here!
Using the Templates
In the video you might have noticed that I traced guidelines on the unicorn and cute unicorn. This took the guesswork out of piping those areas and made my cookies look more consistent.
You can trace guides or even use a projector. Download the zip file for all four of the FREE templates for these cookies - CLICK HERE
Project Timeline
(I like to break up the decorating process as follows. It fits better in my life than tackling everything in one day. Times based on a single batch of cookies, increase as needed):

Day 1: Prep Cookies and Icing
Mix Dough (30 mins), Chill Dough (2 hours inactive time), Roll and Bake (1 hour), Mix Royal Icing and Prep Icing Colors (1 hour)
** Make Drop Flowers on Day 1 (15 minutes). After you make your icing, make the drop flowers so they can dry overnight. Use stiff icing and tip #129 to make these cute swirled flowers (see the video).
Day 2: Decorate
Outline and Flood Cookies (1-2 hours), Allow to dry in front of fan before adding details (1 hour for standard cookies, but allow 6 hours of dry time on the cookie stenciled with royal icing), Piping details and stenciling (1-2 hours)
**ALLOW COOKIES TO FULLY DRY 18-24 BEFORE PACKING. STORE IN A COOL OVEN OVER NIGHT.**
Day 3: Packing Cookies
It usually takes about 30 minutes to heat seal 2 dozen cookies, but plan for an extra 15 minutes if you're adding ribbons to the package. For tips on packing cookies, CLICK HERE to check out this helpful blog post with links to my favorite packing and shipping materials.
Packaging and Boxing Your Cookies
I just got home from CookieCon and scored some fun box samples from BRP Box Shop. Check out these new boxes. The white box is 12" x 5" x 1 1/2" (love this long box for a 3-cookie set). . The Blue box is 9 1/2" x 6" x 1 1/4". And the Pink Box is 6" x 6" x 2 1/2" (cookies are stacked in this box).

If you're looking to pack a dozen, try the 14" white window box!
I want to see what you make! So be sure to tag @Flourboxbakery on Instagram and Facebook and use #flourboxbakery so I can see what you create!
Happy Decorating!
Anne


