How to Decorate a Mermaid

Mermaid Cookie Cutter
$1.79
Repeat after me, "I can create cookies with confidence!" You have what it takes, my fellow cookie fanatic. Just take a deep breath, follow the tutorial step-by-step and have a blast! Happy decorating!
- Anne Yorks, owner The Flour Box
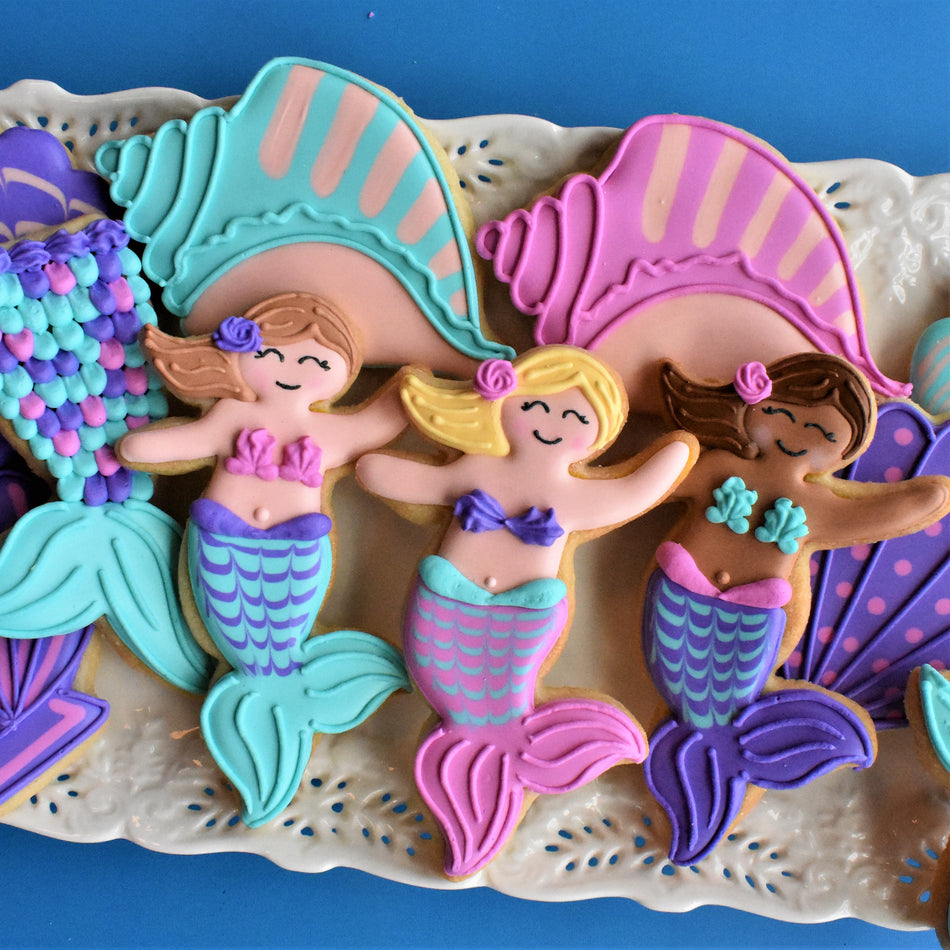
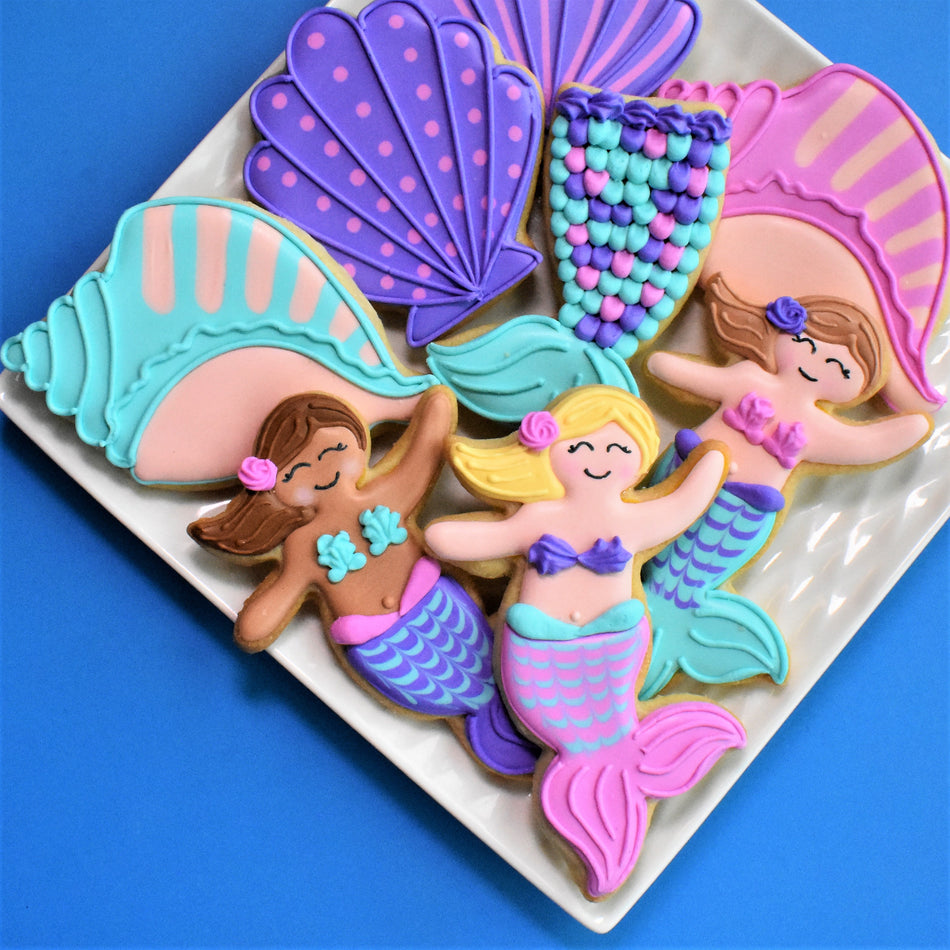
Is it mermaid season yet? Maybe mermaids are popular all year long! In any case, this mermaid is great for any under the sea celebration.

Cookie Yield
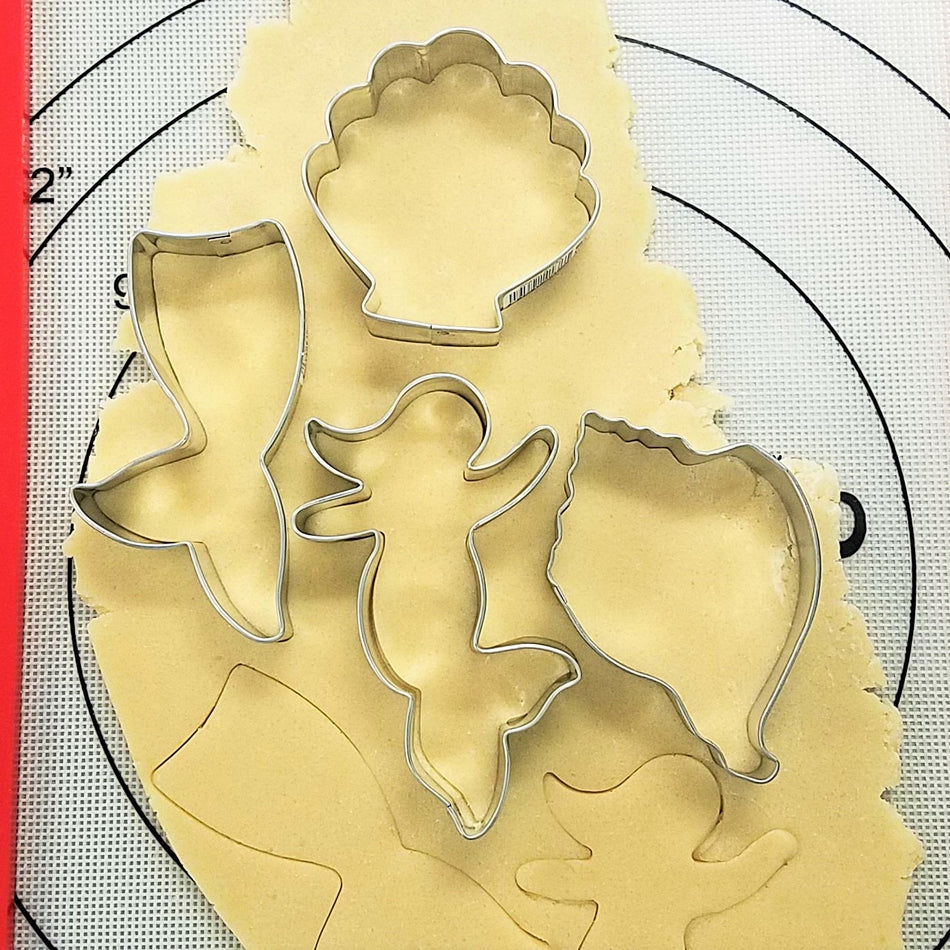
This is a medium cookie. For a single batch of dough, you can make about 18 of these cookies. For a single batch of dough I made 24 cookies, 12 mermaids and 12 seashells. I should note that I roll my cookies to 1/4" thick using the Dough EZ Rolling Mat System. The thickness of your cookies will impact your yield.
COOKIE RECIPE: For a cookie recipe and rolling and baking video CLICK HERE - this recipe can be doubled in a KitchenAid Mixer.
Prepping the Royal Icing
ROYAL ICING RECIPE: For a royal icing recipe and video CLICK HERE - this recipe can be doubled in a KitchenAid Mixer.
ICING PREP: For a single batch of dough, I typically use a single batch of icing. Since I'm using a KitchenAid mixer, I made a double batch of icing and split it in half (reserving half for another project). I used a total of 18 oz of icing. I don't measure exactly...I estimate. For a more detailed look at icing planning, CLICK HERE to read this helpful blog post.
For the hair and skin, I used the 20-second icing consistency. This consistency is thinner than piping icing and thicker than flood. It's great for small icing areas because you can pipe and flood all with one icing. I used 1 oz of brown and 1 oz of skin colored icing (see notes on skintones below),
Then I made a piping and flooding consistency of the following icings...4 oz of pastel fuchsia, 4 oz of turquoise, and 4 oz of violet.
Are you looking to create a variety of skintones for your project? Check out this very helpful blog post with a skin-tone color palette from Georganne Bell of LilaLoa - CLICK HERE TO READ!
ICING COLORS: On this project I used 5 icing colors and colored directly from the bottles with my ChefMaster food gels: Turquoise, Violet, Fuchsia, Buckeye Brown, and Fleshtone. CLICK HERE to check out all the food gel options in our shop.

Mermaid Cookie Cutter
I love this cutter from Ann Clark. This mermaid has a such a serene, floating look to her.

A little different than some of the more whimsical mermaids I've decorated in the past (see below for BONUS mermaid inspiration!)
Check out this video tutorial where I'll show you step-by-step how to make this cookie!
Here are some helpful tips for recreating these cookies!
DECORATING TIPS:

TEMPLATE: In the video you might have noticed that I freehanded these cookies. I felt pretty confident just jumping in. But, you can print the template and trace guidelines directly on the cookie if it is helpful - especially for the body. The template can also be used with a projector. This takes the guesswork out of piping those areas and makes cookies look more consistent.
Download the file for the FREE template - CLICK HERE
CUTTER (click to view in shop): This video features the Mermaid Cutter.

Check out these additional coordinating cutters that would go well with the mermaid!
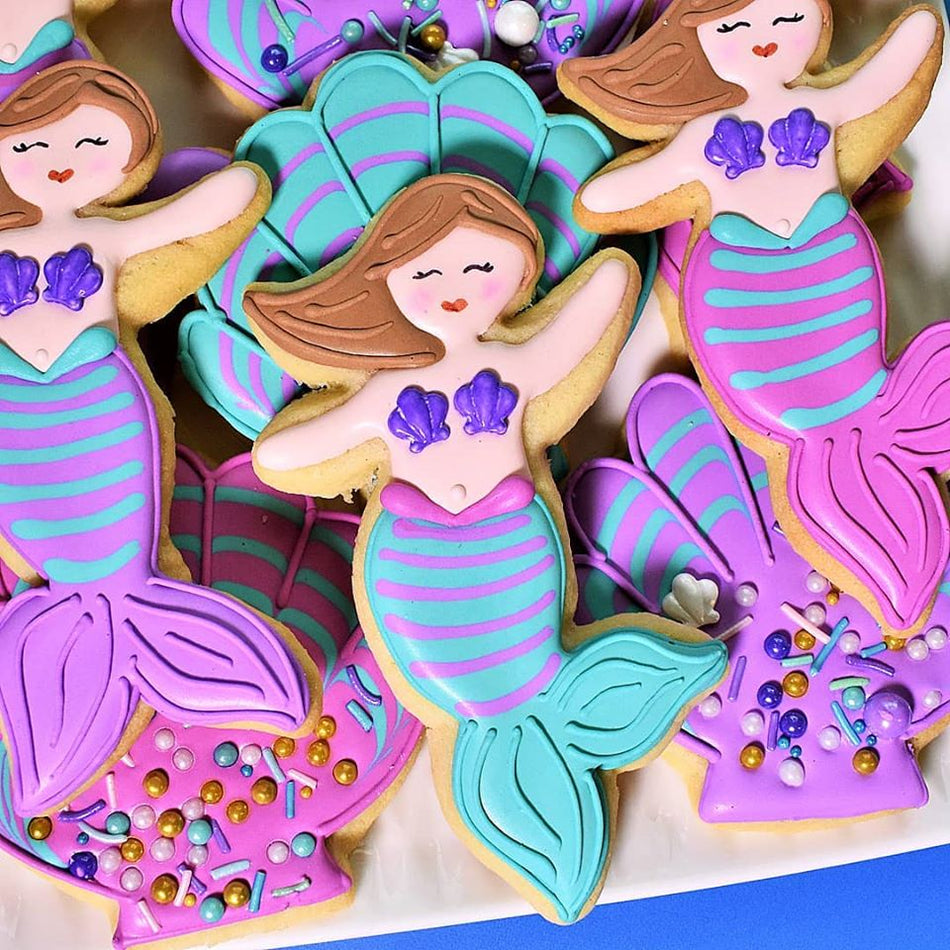
This is totally optional. You can definitely pipe the seashells. But I consider this working smarter, not harder...and I love the look of the purple candy seashells. On the mermaid, I used Sugarbelle Mermaid Sprinkle Set.

And on the shells (accent cookie for this project), I used the Mermaid Mix (bulk pounch)

I couldn't decide if using sprinkles was lazy or smart...maybe both.

But they certainly add a quick color, texture, and sparkle to the cookies!
Check out all our sprinkle sets and mixes - click here!

A FEW OTHER SPECIAL TOOLS:
Before we wrap things up I wanted to point out a few other special tools I used to create the mermaid. On her face, I used a black and red Foodoodler. These are ultra thin and are great for adding the delicate face details (plus I didn't need to mix extra icing colors). And I blushed the mermaid's cheeks subtly with Carnation Pink Crystal Color (FDA approved petal dust) using a thin Silverwhite brush.

PLANNING YOUR PROJECT TIMELINE:
I like to break up the decorating process as follows. It fits better in my life than tackling everything in one day. Times based on a single batch of cookies, increase as needed:

Day 1 PREP COOKIES AND ICING: Mix Dough (30 mins), Chill Dough (2 hours inactive time), Roll and Bake (1 hour), Mix Royal Icing and Prep Icing Colors (1 hour)
Day 2 DECORATE: Outline and Flood Cookies (1-2 hours), Allow to dry in front of fan before adding details (1 hour for standard cookies, but allow 6 hours of dry time on the face area before using a marker), Piping details, etc (1-2 hours)
**ALLOW COOKIES TO FULLY DRY 18-24 BEFORE PACKING. STORE IN A COOL OVEN OVER NIGHT.**
Day 3 PACKING COOKIES: For tips on packing cookies, CLICK HERE to check out this helpful blog post with links to my favorite packing and shipping materials.
MATERIALS LIST:

DECORATING TOOLS:
- Cuttes (see above)
- Food Gel Colors (black, fuchsia, turquoise, violet, and fleshtone)
- PME Scribe
- Tipless Decorating Bags
- #2 Tip (3)
- #1 Tip (2)
- Sprinkles (optional)
- Black Foodoodler
- Red Foodoodler
- Carnation Pink
Recreate these!
I would be so flattered if you recreated these cookies! Be sure to tag @theflourboxshop or use hashtag #theflourbox so I can see what you create!
Looking for more inspiration? Check out the Mermaid Tail Tutorial and the Mermaid (sundae dish) Tutorial. Just click on the photo!
Happy Decorating!
Anne