Graduation Cookie Decorating Kit
Graduation Cookie Decorating Kit
$30.58$27.52On sale!
What's included?
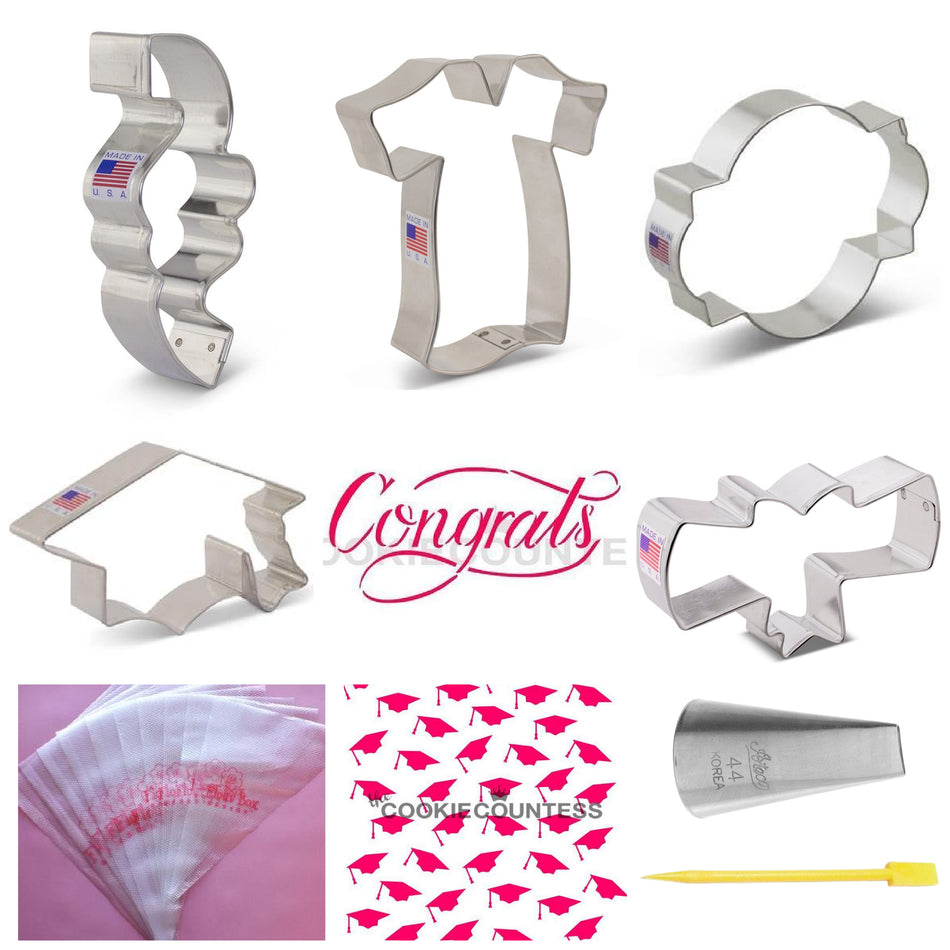
Here's a list of everything that's part of the kit - all with a 10% savings when purchased together!
- Diploma Cookie Cutter
- Graduation Cap Cookie Cutter
- Graduation Gown AC Cookie Cutter
- LilaLoa Confetti Swirl Cookie Cutter
- Photo Plaque Cookie Cutter
- Congrats Cookie Countess Stencil
- Graduation Caps Repeat Stencil
- Ateco Tip #44 Basketweave
- Tipless Icing Bags SAMPLE 10-Pack
Don't need all of these items?
No worries! You can buy just the items you want!
Pick what I needGraduation cookie season can be intense, am I right? All the more reason to keep these cookie designs full of punch, but simple! And let's face it, it doesn't get easier than planning cookies with school colors - the color palette is planned for you!!

So let's take a look at how to make these graduation cookies...perfect for high school or college graduations!

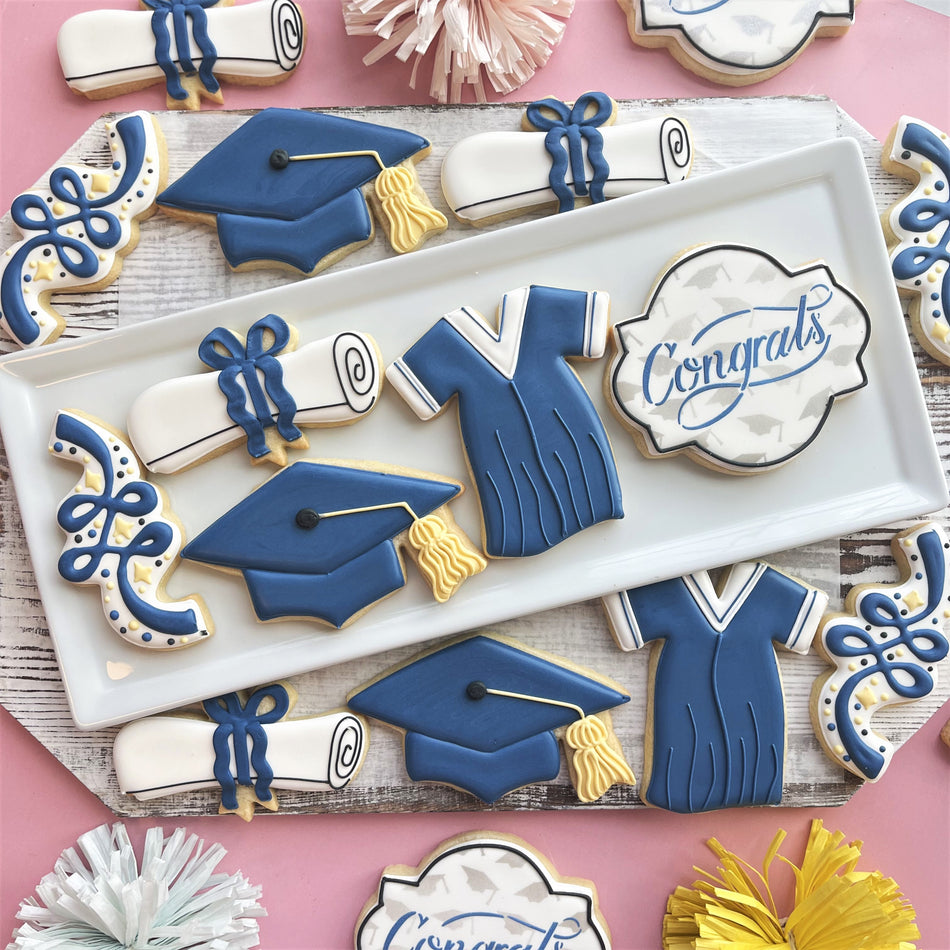
The three most popular graduation cookies are by far the easiest to make: the diploma, grad cap, and gown. I also mixed in a plaque cookie with 'congrats' and a confetti swirl. Take a look at the video and then check below for additional tips on how to make these cookies!
PREPPING THE COOKIES and YIELD:
COOKIE YIELD: For a single batch of dough I was able to make 20 of these cookies, 4 of each design. I should note that I roll my cookies to 1/4" thick using the Dough EZ Rolling Mat System. The thickness of your cookies will impact your yield.
COOKIE RECIPE: For a cookie recipe and rolling and baking video CLICK HERE - this recipe can be doubled in a KitchenAid Mixer.

DECORATING TIPS:
TEMPLATES: CLICK HERE to view the projector (on Amazon) I use in the video. And CLICK HERE to view the tripod. **These are not affiliate links.** There are tons of projector options. I'm just sharing what works for me with my ipad. In the video I chat a little about getting my image sized, etc. But, if you have specific questions about how to sync your devices and set-up your tech, I suggest reaching out to the customer service from whom you purchase the projector from.
They are also available as a set with the stencils in the Graduation Cookie Decorating Kit - Click here to view in shop!
There are so many FUN goodies in this BOX! This kit includes: FIVE cutters (photo plaque, graduation gown, grad cap, diploma, and confetti), Congrats Stencil, Grad Cap Repeat Stencil, Icing Tip #44 , a Boo Boo Stick, and 10 Tipless Bags (5 of the 10" and 5 of the 13")!

STENCILS and AIRBRUSH:

This set features two stencils: Grad Cap Repeat and Congrats.
I used the Cookie Countess Airbrush System and Luck's Silver Airbrush Color to add the caps to the party hat.
SPECIALITY TIPS:
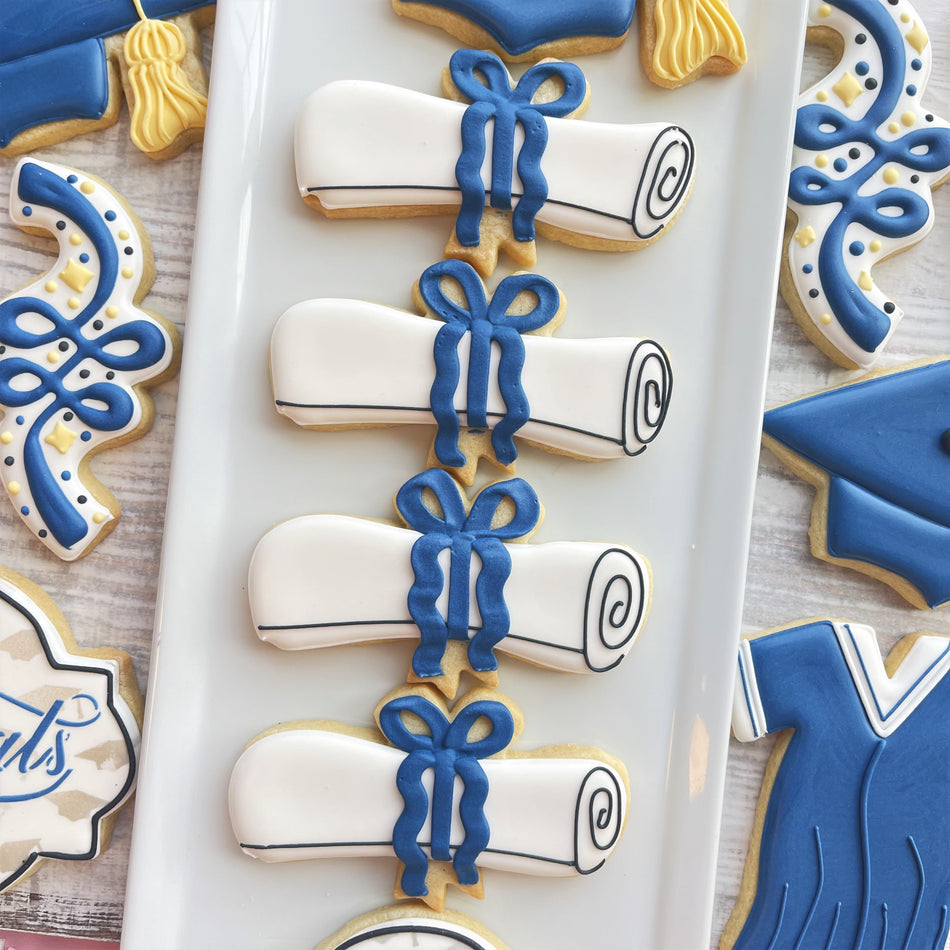
I have a special place in my heart for the diploma cookie. It's just so cute and easy and that tip #44 really does the trick to create the ribbon. I love the texture of it!
PREPPING THE ROYAL ICING:
ICING PREP: For a single batch of dough, I typically use a single batch of icing. Since I'm using a KitchenAid mixer, I made a double batch of icing and split it in half (reserving half for another project).
I used mostly navy and white for this project. I portioned 8 oz of white and 6 oz of navy. Then I used 1 oz of black and 3 oz of gold. A total of 18 oz of icing. I don't measure exactly...I estimate. For a more detailed look at icing planning, CLICK HERE to read this helpful blog post.
ROYAL ICING RECIPE: For a royal icing recipe and video CLICK HERE - this recipe can be doubled in a KitchenAid Mixer.

ICING COLORS: On this project I used ChefMaster food gels: Bright White, Diamond Black, Navy and Gold. It is VERY helpful to make colors like navy and black the day before you decorate (see my schedule below). You will add less gel and the color will deepen over night. CLICK HERE to check out all the food gel options in our shop.
PLANNING YOUR PROJECT TIMELINE:
(I like to break up the decorating process as follows. It fits better in my life than tackling everything in one day. Times based on a single batch of cookies, increase as needed):

Day 1 PREP COOKIES AND ICING: Mix Dough (30 mins), Chill Dough (2 hours inactive time), Roll and Bake (1 hour), Mix Royal Icing and Prep Icing Colors - it is helpful to make the colors (especially black and navy) the day before you decorate because the color will deepen overnight (1 hour)
** Make Royal Icing Transfers - (optional) on Day 1 (30 minutes). After you make your icing, make the transfers so they can dry overnight.
Day 2 DECORATE: Outline and Flood Cookies (1-2 hours), Allow to dry in front of fan before adding details (1 hour for standard cookies, but allow 6 hours of dry time on the cookie stenciled with royal icing), Piping details and stenciling (1-2 hours)
**ALLOW COOKIES TO FULLY DRY 18-24 BEFORE PACKING. STORE IN A COOL OVEN OVER NIGHT.**
Day 3 PACKING COOKIES: For tips on packing cookies, CLICK HERE to check out this helpful blog post with links to my favorite packing and shipping materials.
PACKAGING AND BOXING YOUR COOKIES:
When I was at CookieCon I scored some fun box samples from BRP Box Shop. Check out these new boxes. The white box is 12" x 5" x 1 1/2" (love this long box for a 3-cookie set).

I love this photo because it show the simple version of the cookies on the right (no text), and the 'next level' cookies on the left (extra piped text). Both versions look great. It's up to you to decide how much time you want to invest in your project.
If you're looking to pack a dozen, try the 14" white window box!
MATERIALS LIST:
Graduation Cookie Decorating Kit: Pick up the stencils and cutters as one kit. CLICK HERE to view in shop.
DECORATING TOOLS:
- Cutters (see above)
- Stencils (see above)
- Airbrush Colors (Luck's silver)
- Food Gel Colors (white, black, gold and navy)
- PME Scribe
- Tipless Decorating Bags
- #2 PME Tip (for outlines and details)
- #44 Wilton Tip (for ribbon on diploma)
- #1.5 PME tip (for details on gown and diploma)
- #1 PME Tip (for piping small text)
- Cookie Countess Airbrush System
- Stencil Genie
- Projector (optional)
- Parchment Paper for Royal Icing (RI) Transfers (optional)

I want to see what you make! So be sure to tag @Flourboxbakery on Instagram and Facebook and use #flourboxbakery so I can see what you create!
Happy Decorating!
Anne
