Football Cookie Decorating Kit
Football Cookie Decorating Kit
$34.31$20.59On sale!
What's included?
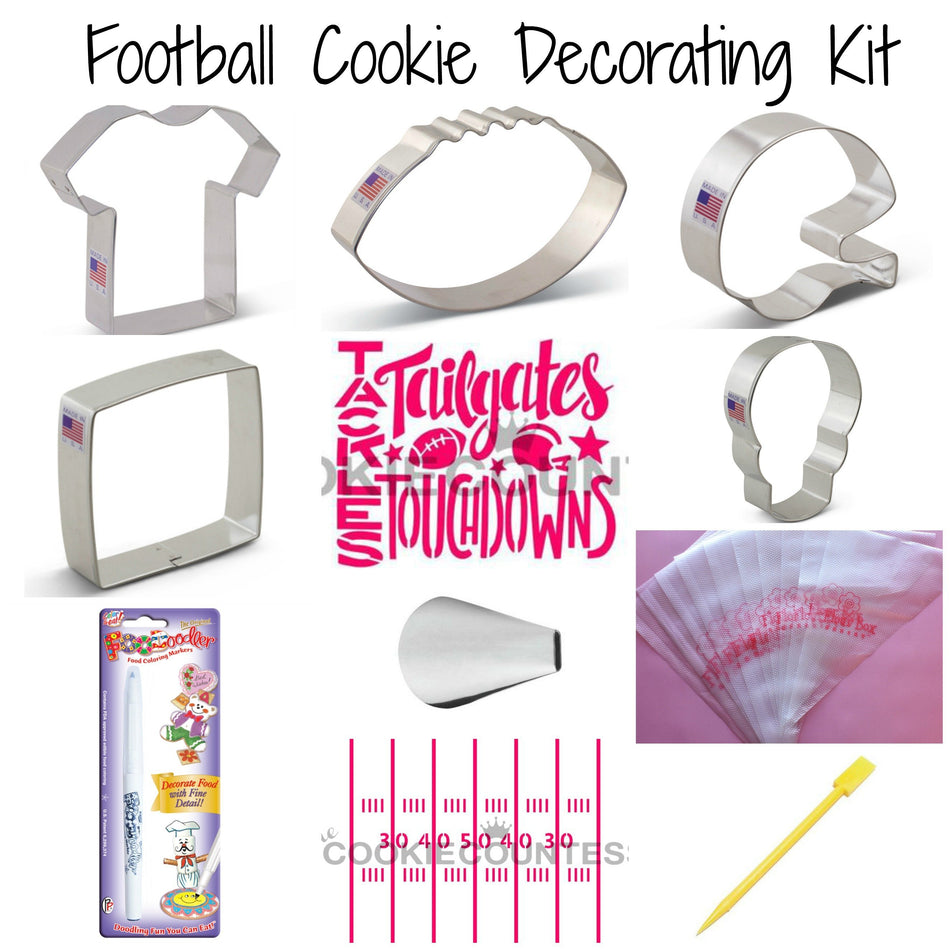
Here's a list of everything that's part of the kit - all with a 10% savings when purchased together!
- Ateco Tip #44 Basketweave
- FooDoodler Black Fine Line Marker
- Football Field Lines Stencil
- Tailgates and Touchdowns Stencil
- Football Large Cookie Cutter
- Football Helmet AC Cookie Cutter
- Skull Cookie Cutter
- Square 3.5" Cookie Cutter
- T-Shirt Cookie Cutter by The Flour Box
- Tipless Icing Bags SAMPLE 10-Pack
Don't need all of these items?
No worries! You can buy just the items you want!
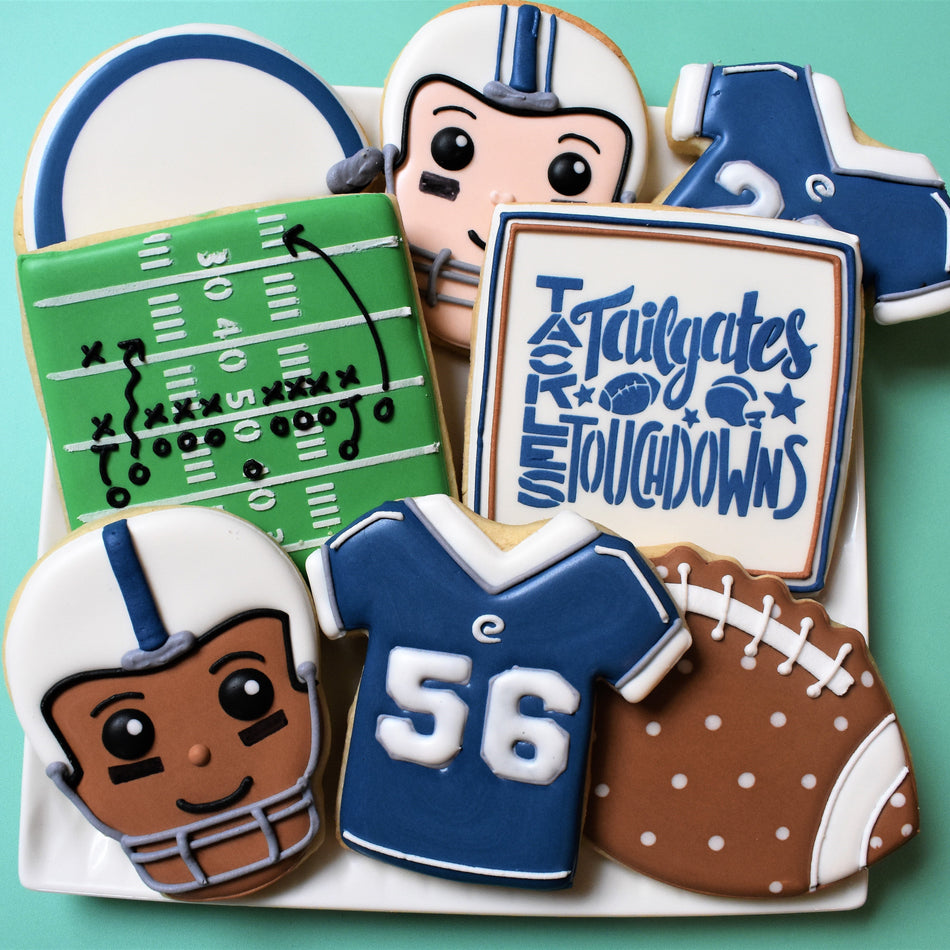
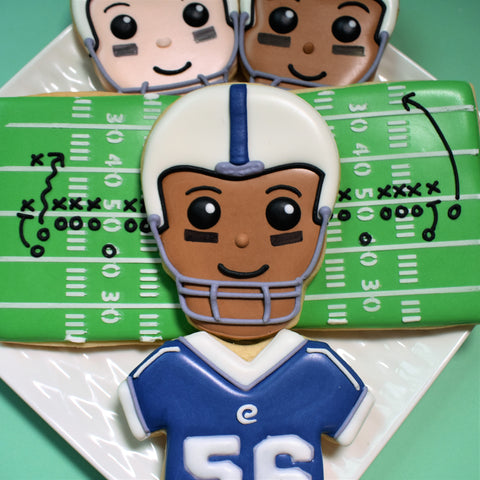
Pick what I needIt’s time to show your team spirit! I’m kicking off football season with this tutorial that features 6 football themed cookies! You can make them too – just personalize the cookies with your team colors!
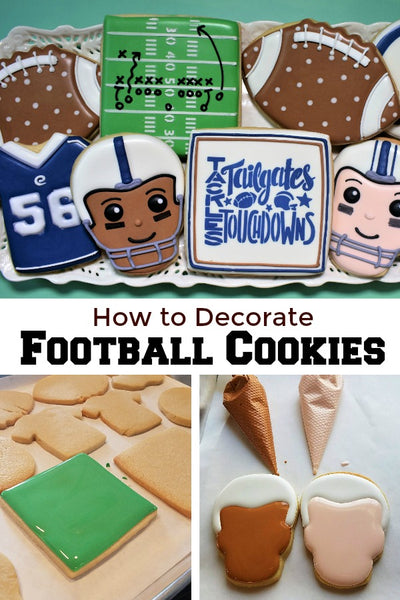
In this tutorial, I’ll show you step-by-step how to make a player cookie, a helmet, and a football. I’ll also show you how to use a royal icing transfer to make quick and easy jersey cookies. Plus, I’ll share tips on cookie stenciling on two cookies and that will speed up the decorating! Then I’ll show how I take the stenciled field cookie to the next level!
PREPPING THE COOKIES and YIELD:

COOKIE YIELD:
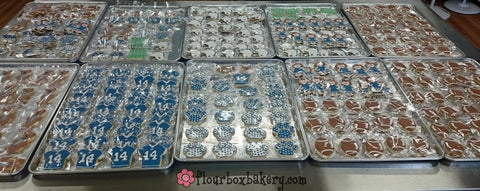
For a single batch of dough I was able to make 18 of these cookies! I should note that I roll my cookies to 1/4" thick using the Dough EZ Rolling Mat System. The thickness of your cookies will impact your yield.
COOKIE RECIPE:
For a cookie recipe and rolling and baking video CLICK HERE - this recipe can be doubled in a KitchenAid Mixer.
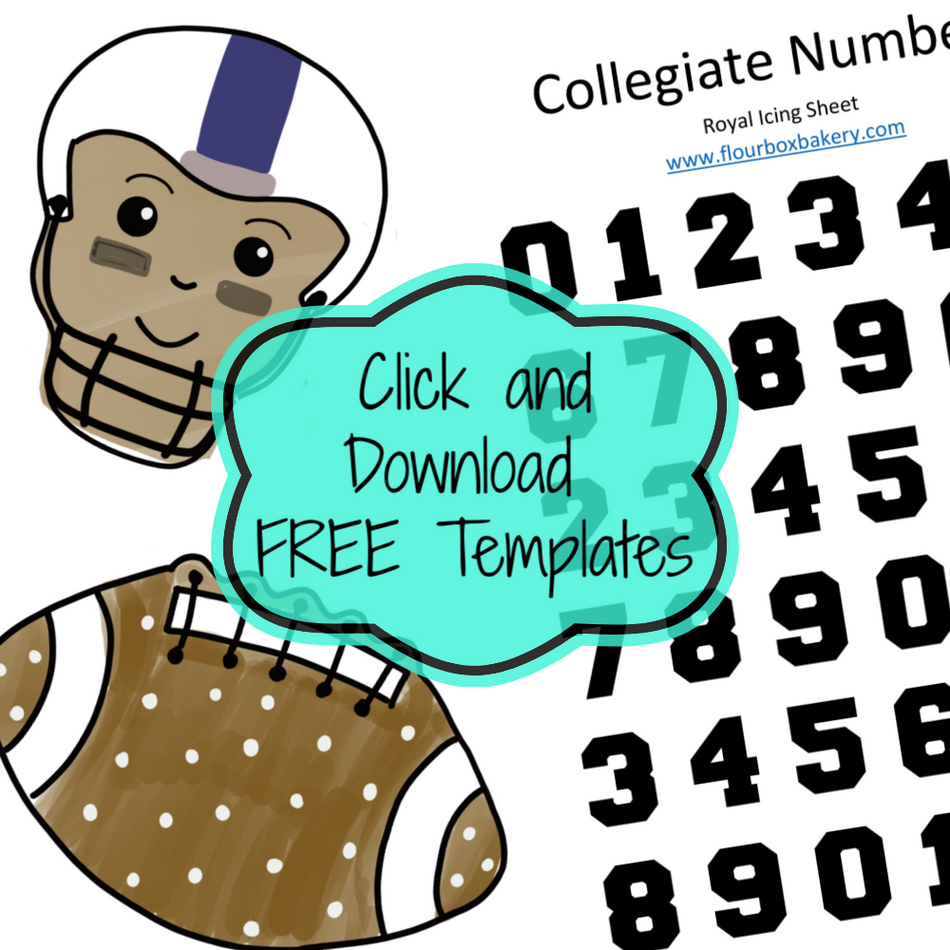
TEMPLATES:
Using a template can help guide the cookie design and build confidence when decorating. You can use them with a projector or print and cut them out to trace lines (with a food safe marker) on the cookie surface. Although, sometimes it is quicker to decorate freehand, especially with these pretty straight forward cookies.
In this video, I also used royal icing transfers for the jersey numbers. Click on the link below to download both the templates and the transfer sheet. If you want to make your own transfer sheet (custom jersey numbers), I used the Collegiate Font at size pt. 85.
Download the zip file for the templates - CLICK HERE

SPECIALITY TOOLS:
Featured in the tutorial is the Black Foodoodler Marker. I used this to add the eye black. To avoid poking a hole in the icing, It's important to allow the icing to dry 6 hours before writing on the surface with a marker. This marker was also featured in the Easter box, but you can't have too many of these! You can find it in the football kit or buy one individually - click here!

PREPPING THE ROYAL ICING:
ICING PREP:
For a single batch of dough, I typically use a single batch of icing. Since I'm using a KitchenAid mixer, I made a double batch of icing (about 36 oz of icing) and split it in half (reserving half for another project).
I typically like to stick to five icing colors, and it still takes me about an hour to make the icing and mix the colors! This set has 8 colors: Navy, White, Black, Gray (I used a dot of black to make it), Fleshtone, Buckeye Brown, and Leaf Green. CLICK HERE to check out all the food gel options in our shop.

I used 5 oz of white, 5 oz of Navy, 3 oz of leaf green, 3 oz of Buckeye Brown, 2 oz of fleshtone, and 1 oz of Black, and 1 oz of Gray. I used about 20 oz of icing. I don't measure exactly...I estimate. For a more detailed look at icing planning, CLICK HERE to read this helpful blog post.
I did make two icing colors for skin for the football players. For the white player, I used the chefmaster fleshtone and for the black player I used fleshtone plus a dot or two of the buckeye brown. You can tweak this combo to make different skin tones.

Isn't he cute?
ROYAL ICING RECIPE:
For a royal icing recipe and video CLICK HERE - this recipe can be doubled in a KitchenAid Mixer.
PLANNING YOUR PROJECT TIMELINE:
(You'll have more fun decorating cookies if you plan ahead and break up the project. I found that it just fits better in my life than tackling everything in one day. Times based on a single batch of cookies, increase as needed):
Day 1 PREP COOKIES AND ICING:
Mix Dough (30 mins), Chill Dough (2 hours inactive time), Roll and Bake (1 hour), Mix Royal Icing and Prep Icing Colors - it is helpful to make the colors the day before you decorate because the color will deepen overnight (1 hour). Make royal icing transfers (30 mins).
Day 2 DECORATE:
Outline and Flood Cookies (1-2 hours), Allow to dry in front of fan before adding details (1 hour for standard cookies, but allow 6 hours of dry time on the cookies stenciled with royal icing or with the foodoodler), Piping details, and stenciling (1.5-2.5 hours)
**ALLOW COOKIES TO FULLY DRY 18-24 HOURS BEFORE PACKING. STORE IN A COOL OVEN OVER NIGHT.**
Day 3 PACKING COOKIES:
For tips on packing cookies, CLICK HERE to check out this helpful blog post with links to my favorite packing and shipping materials.
MATERIALS LIST:
Did you notice my new scribe in the tutorial? We just got these cute scribes with beads in stock! You can find it in the shop - click here!

Our collegiate stencil line would be a perfect match for these football cookies. These stencils are for making cookies for personal use only.


Check out all the Collegiate Stencil options - CLICK HERE!
More Inspiration!
With Penn State in my backyard, I have made a ton of football themed cookies.
Watched the tutorial and looking for more football inspiration?? Take a look...
How about some super realistic footballs? Lots of icing areas on this design, but worth the extra work!

Not all footballs have to be brown. Check out these camo footballs!

The L-O-V-E cutter makes an awesome Love Football cookie design! I used tip #301 for the small laces and it worked perfectly!

I also love making this cute football player using the Sugarbelle boy cutter. Check out the video tutorial for this cutie - CLICK HERE.

These football cupcakes are a crowd pleaser AND they are sooooooo easy and fun to make! Use tip #44 to make the laces on the cupcake wrapper!

Do you know Bride and Groom super fans? Use team colors to make cute jerseys! Replace the jersey number with a B or G. These are fun for a tailgate engagement party!

Make a Collegiate letter cookies with a football twist!!

I hope you enjoyed this football tutorial!

I want to see what you make! So be sure to tag @Flourboxbakery on Instagram and Facebook and use #flourboxbakery so I can see what you create!
Happy Decorating!
Anne