Cozy Fall Cookie Decorating Kit
Cozy Fall Cookie Decorating Kit
$34.31$30.88On sale!
What's included?
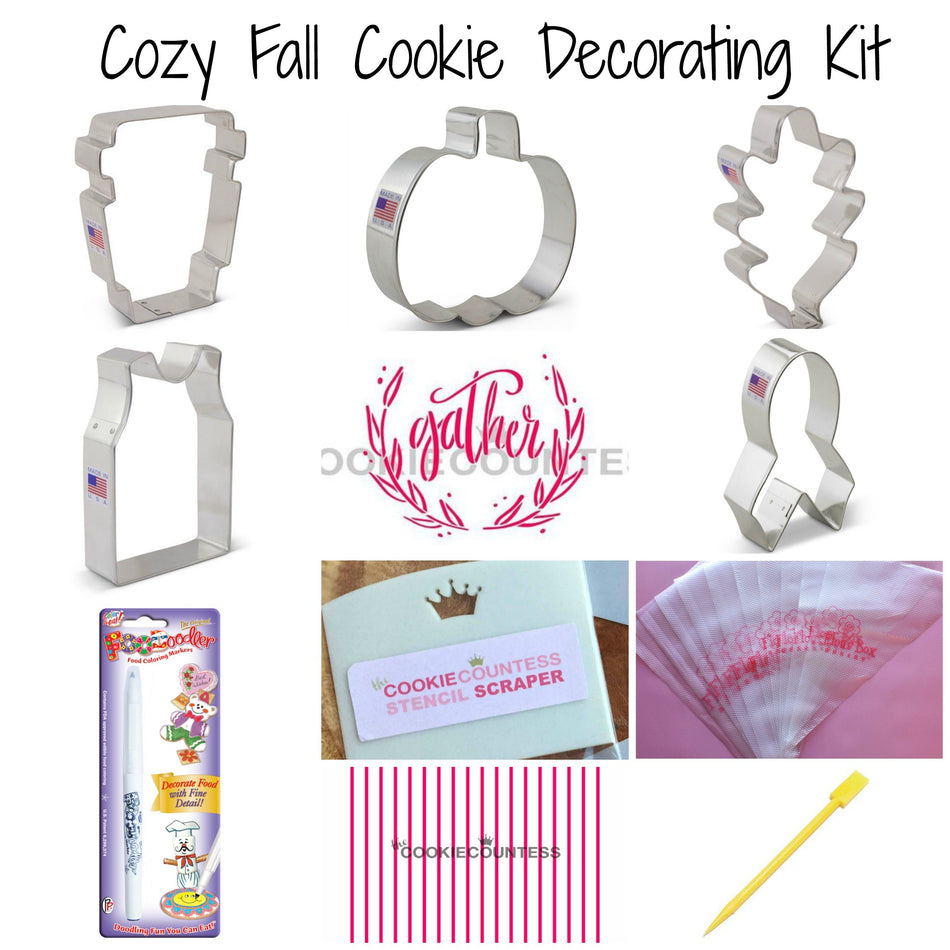
Here's a list of everything that's part of the kit - all with a 10% savings when purchased together!
- Basketball Jersey Cookie Cutter
- FooDoodler Yellow Fine Line Marker
- Gather Stencil
- Latte Cup Cookie Cutter by The Flour Box
- Oak Leaf with Stem Cookie Cutter
- Pinstripes Stencil
- Pumpkin 3" Cookie Cutter
- Royal Icing Single (1) Scraper Tool
- Small Ribbon Cookie Cutter
- Tipless Icing Bags SAMPLE 10-Pack
Don't need all of these items?
No worries! You can buy just the items you want!
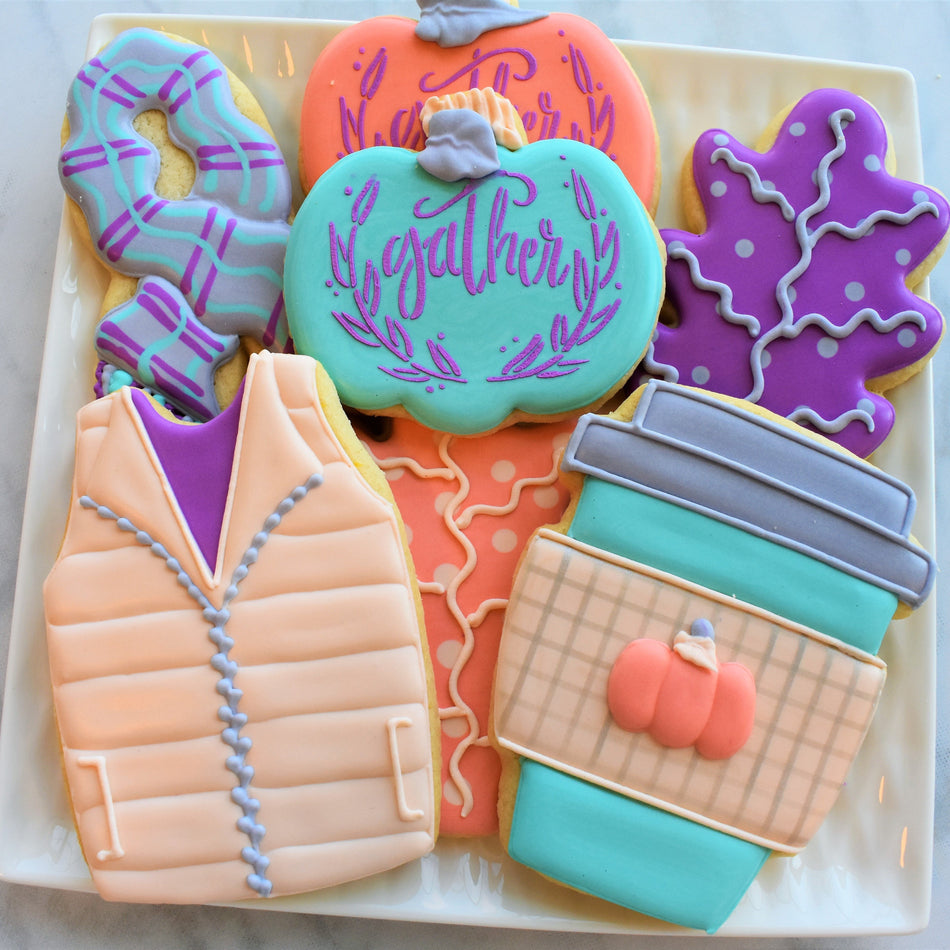
Pick what I needI love decorating fall cookies! Maybe it's because I love everything about fall!! The cooler weather, the changing of the leaves, hot lattes and puffy vests!!! And because fall is the perfect time to get cozy, I created the Cozy Fall cookie set! I went a little non-traditional with the icing colors on this project and loved the final results.
In this tutorial, I'll share how to create beautiful dimension with the puffy vest cookie, a wet-on-wet plaid for the scarf, a stenciled pumpkin, a quick-and-easy leaf, and an airbrushed latte cup!
Cookie Yield
COOKIE YIELD:
These cookies are all in the 3’ – 3.5” size range. With a single batch of dough I made 21 cookies, 5 3" pumpkins, 5 scarves (ribbon cutter), 3 lattes, 3 vests (basketball jersey), and 4 leaves. I should note that I roll my cookies to 1/4" thick using the Dough EZ Rolling Mat System. The thickness of your cookies will impact your yield.

COOKIE RECIPE:
For a cookie recipe and rolling and baking video CLICK HERE - this recipe can be doubled in a KitchenAid Mixer.
Prepping Royal Icing
Usually for fall sets I use a combo of green, yellow, orange, and red. But I was in the mood to change it up a little. Here's a guide to this fun color palette. To create a muted tone to the icing, I added several drops of ivory to each color.

For a single batch of dough, I typically use a single batch of icing. Since I'm using a KitchenAid mixer, I made a double batch of icing and split it in half (reserving half for another project).
I don't measure exactly...I estimate. For a more detailed look at icing planning, CLICK HERE to read this helpful blog post.
ROYAL ICING RECIPE
For a royal icing recipe and video CLICK HERE - this recipe can be doubled in a KitchenAid Mixer.
Free Templates
This kit comes with FREE templates (latte, scarf, and vest). These are great to use with a cookie projector (like a KopyKake or a Pico).
Project Timeline
I like to break up the decorating process to fit in my schedule. Because there are several phases to decorated cookies, it works better with my life to do a little each day. Here is the schedule for this cookie project and estimated times on how long each phase takes.
DAY 1
Mix Dough (30 mins), Chill Dough (2 hours inactive time), Roll and Bake (1 hour), Mix Royal Icing and Prep Icing Colors - it is helpful to make the colors the day before you decorate because the color will deepen overnight (1 hour).
DAY 2
Outline and Flood Cookies (1-2 hours), Allow to dry in front of fan before adding details (1 hour for standard cookies, but allow 6 hours of dry time on the cookies stenciled with royal icing like the pumpkin), Piping details, and stenciling (1.5-2.5 hours)
**ALLOW COOKIES TO FULLY DRY 18-24 HOURS BEFORE PACKING. STORE IN A COOL OVEN OVER NIGHT.**
DAY 3
For tips on packing cookies, CLICK HERE to check out this helpful blog post with links to my favorite packing and shipping materials.
Packaging Tips
I have two great packaging suggestions for these cookies. You can pack the cookies individually and use the 14” window box from BRP to sell or give the cookies as a collection.

These cookies also make great cookie sets. You can fit 2-4 cookies (with some overlap) in the 9” window box.

Recreate these!
I would be so flattered if you recreated these cookies! Be sure to tag @flourboxshop or use hashtag #theflourbox so we can see what you create!
Happy Decorating!


