Baby Cookie Decorating KIT

Baby Cookie Decorating KIT
$33.31$19.99On sale!
What's included?
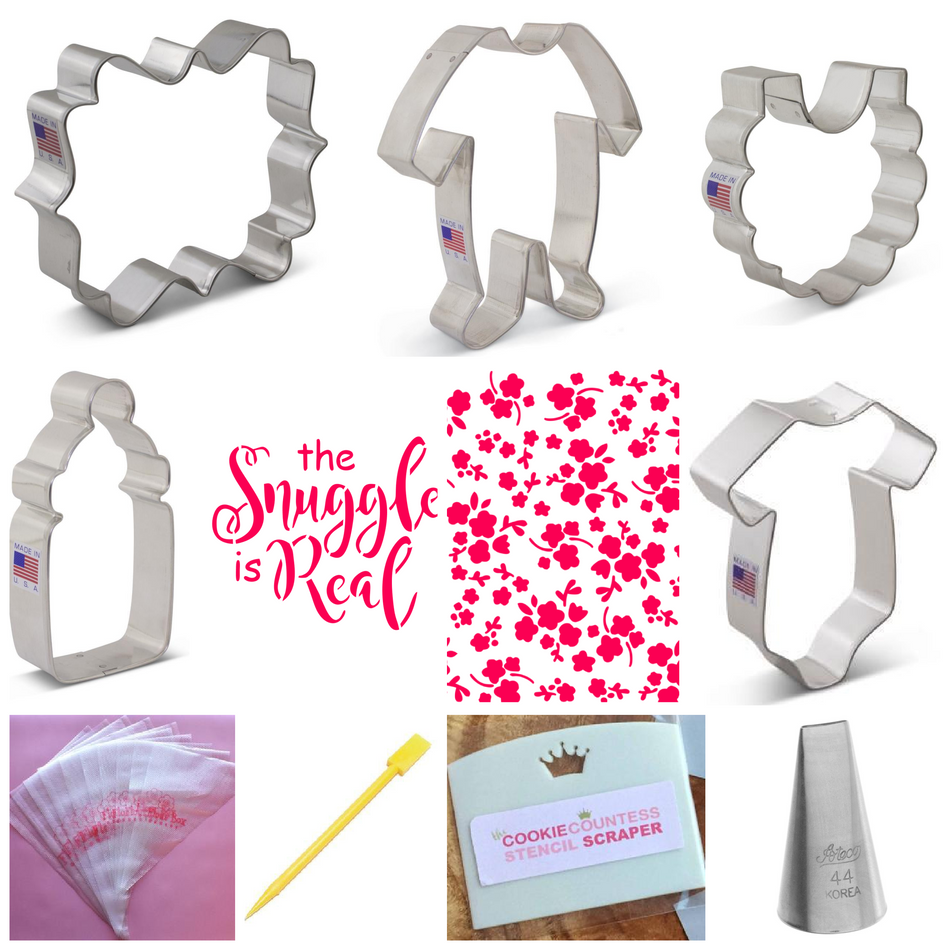
Here's a list of everything that's part of the kit - all with a 10% savings when purchased together!
- Baby Bib Cookie Cutter
- Royal Icing Single (1) Scraper Tool
- Snuggle is Real Stencil
- Mini Blooms Stencil
- Ateco Tip #44 Basketweave
- Tipless Icing Bags SAMPLE 10-Pack
Don't need all of these items?
No worries! You can buy just the items you want!
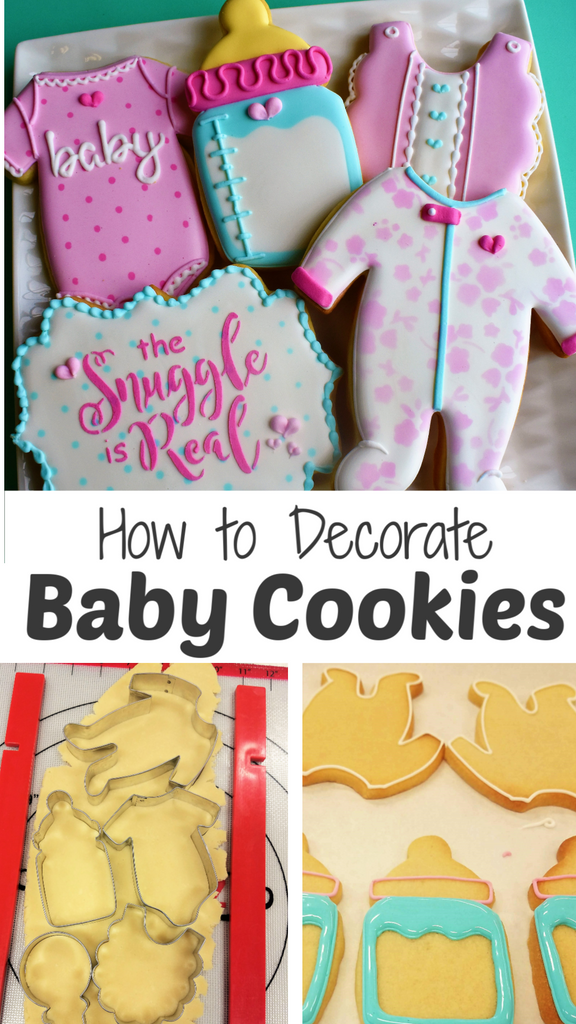
Pick what I needI love when cookies can play a small roll in a big life moment. And so, cookies are the perfect favor for a baby shower!
So of course, our newest decorating kit is all about the BABY Cookies! Be sure to scroll down to see some of these cookies in a baby boy and neutral color palette as well. But for this tutorial...it's all about the baby girls :)
PREPPING THE COOKIES and YIELD:
COOKIE YIELD:
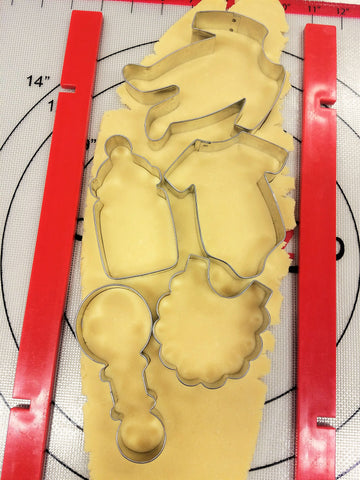
For a single batch of dough I was able to make 20 of these cookies, 5 of each! I should note that I roll my cookies to 1/4" thick using the Dough EZ Rolling Mat System. The thickness of your cookies will impact your yield.
COOKIE RECIPE: For a cookie recipe and rolling and baking video CLICK HERE - this recipe can be doubled in a KitchenAid Mixer.
CUTTERS
(click on the cutter title to view in shop): This set features the Bib, Footie Pajama, LilaLoa Plaque, Chubby Baby Bottle, and Onesie.

SPECIALITY TIPS:
The footie pajama cutter might be on my list of top 5 favorite cutters. And with the mini blooms stencil, I'm just swooning. To add the details, I did use a tip #44 for the cuff and snap cover. So quick and perfect to finish this cookie.
Also featured in the tutorial (and the baby cookie decorating kit) is one royal icing scraper.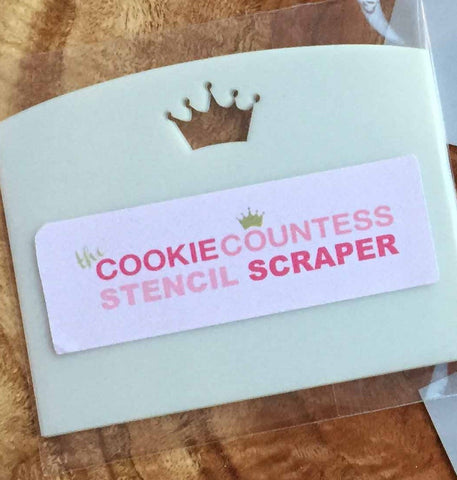
This tool is ESSENTIAL for stenciling with royal icing. Here are few tips for stenciling with royal icing:

PREPPING THE ROYAL ICING:
ICING PREP: For a single batch of dough, I typically use a single batch of icing. Since I'm using a KitchenAid mixer, I made a double batch of icing (about 36 oz of icing) and split it in half (reserving half for another project).
Since it is summer and I want to spend less time mixing icing colors and more time playing outside, I kept the icing palette SUPER manageable with only FOUR icing colors. I used 6 oz of white, 5 oz of light pink (just a teeny drop of the deep pink gel), 3 oz of the dark pink, 3 oz of the sky blue, and 1 oz of the golden yellow. A total of 18 oz of icing. I don't measure exactly...I estimate. For a more detailed look at icing planning, CLICK HERE to read this helpful blog post.
ROYAL ICING RECIPE: For a royal icing recipe and video CLICK HERE - this recipe can be doubled in a KitchenAid Mixer.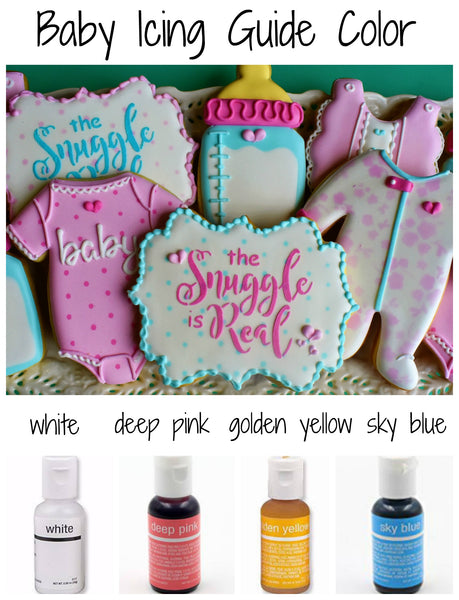
ICING COLORS: On this project I used ChefMaster food gels: Bright White, Deep Pink (light and dark), golden yellow, and sky blue. CLICK HERE to check out all the food gel options in our shop.
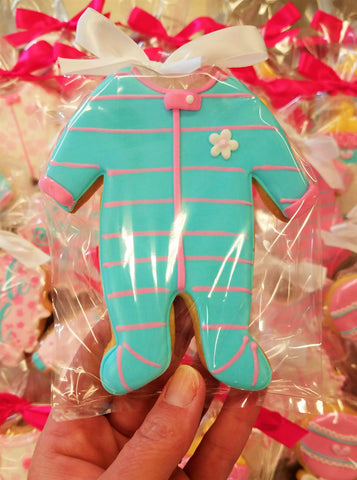
What to see these cookies in a few other color schemes? Here is the footie pajama in yellow, gray and white colors for a neutral baby shower.
And here is some inspiration for baby boy showers:
This boy color palette includes: sky blue, and gray (made with a teeny dot of coal black + white), and a little pink with the hearts.

This boy color palette also includes: light royal blue and gray (made with a teeny dot of coal black + white. I added a pop of silver chevron airbrush to the bottle and onesie!

PLANNING YOUR PROJECT TIMELINE:
(You'll have more fun decorating cookies if you plan ahead and break up the project. It just fits better in my life than tackling everything in one day. Times based on a single batch of cookies, increase as needed):
Day 1 PREP COOKIES AND ICING: Mix Dough (30 mins), Chill Dough (2 hours inactive time), Roll and Bake (1 hour), Mix Royal Icing and Prep Icing Colors - it is helpful to make the colors the day before you decorate because the color will deepen overnight (1 hour)
Day 2 DECORATE: Outline and Flood Cookies (1-2 hours), Allow to dry in front of fan before adding details (1 hour for standard cookies, but allow 6 hours of dry time on the cookie stenciled with royal icing), Piping details, airbrushing, and stenciling (1.5-2.5 hours)
**ALLOW COOKIES TO FULLY DRY 18-24 HOURS BEFORE PACKING. STORE IN A COOL OVEN OVER NIGHT.**
Day 3 PACKING COOKIES: For tips on packing cookies, CLICK HERE to check out this helpful blog post with links to my favorite packing and shipping materials.

I want to see what you make! So be sure to tag @Flourboxbakery on Instagram and Facebook and use #flourboxbakery so I can see what you create!
Happy Decorating!
Anne