Magical Wizard Cookie Decorating Kit


Magical Wizard Cookie Decorating Kit
$53.42$48.08On sale!
What's included?
Here's a list of everything that's part of the kit - all with a 10% savings when purchased together!
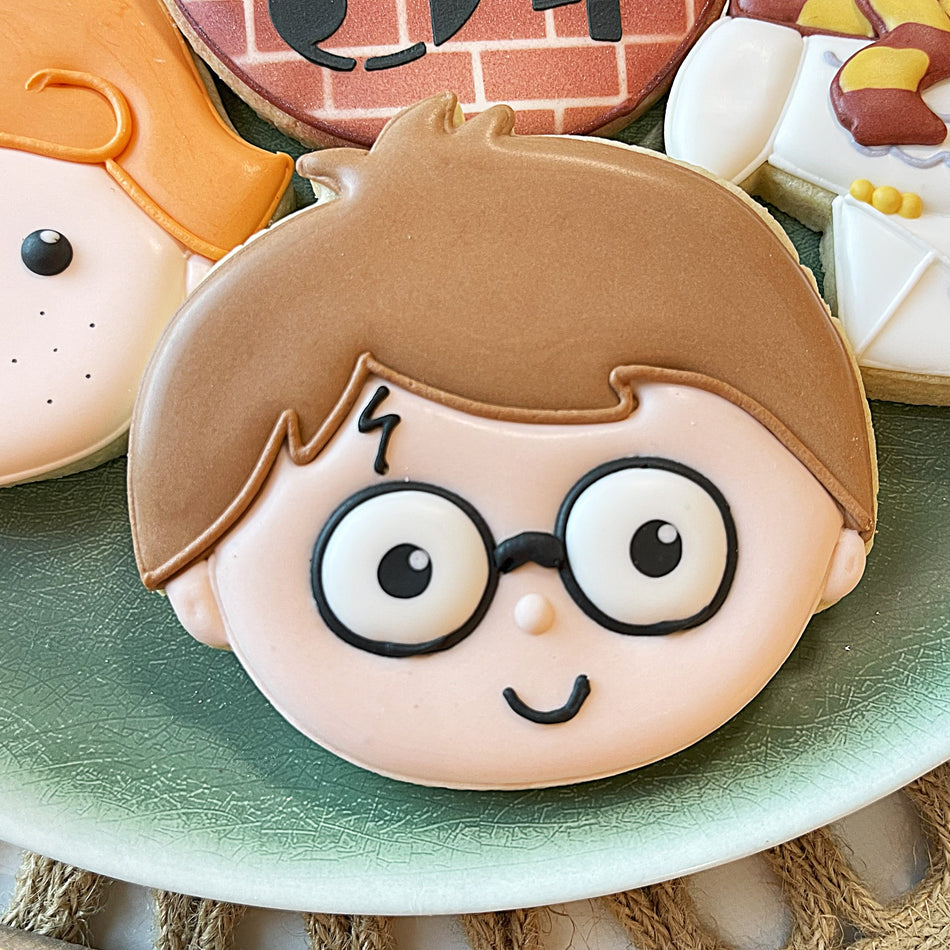
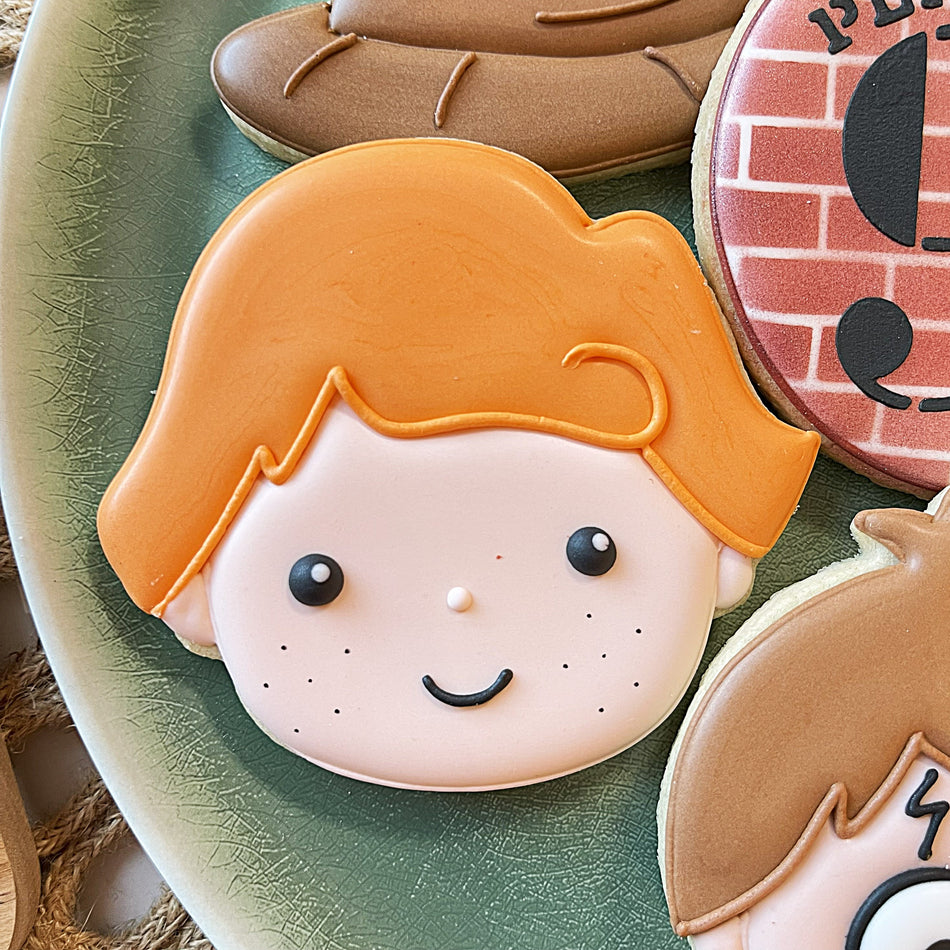
- Wizard Boy Cookie Cutter
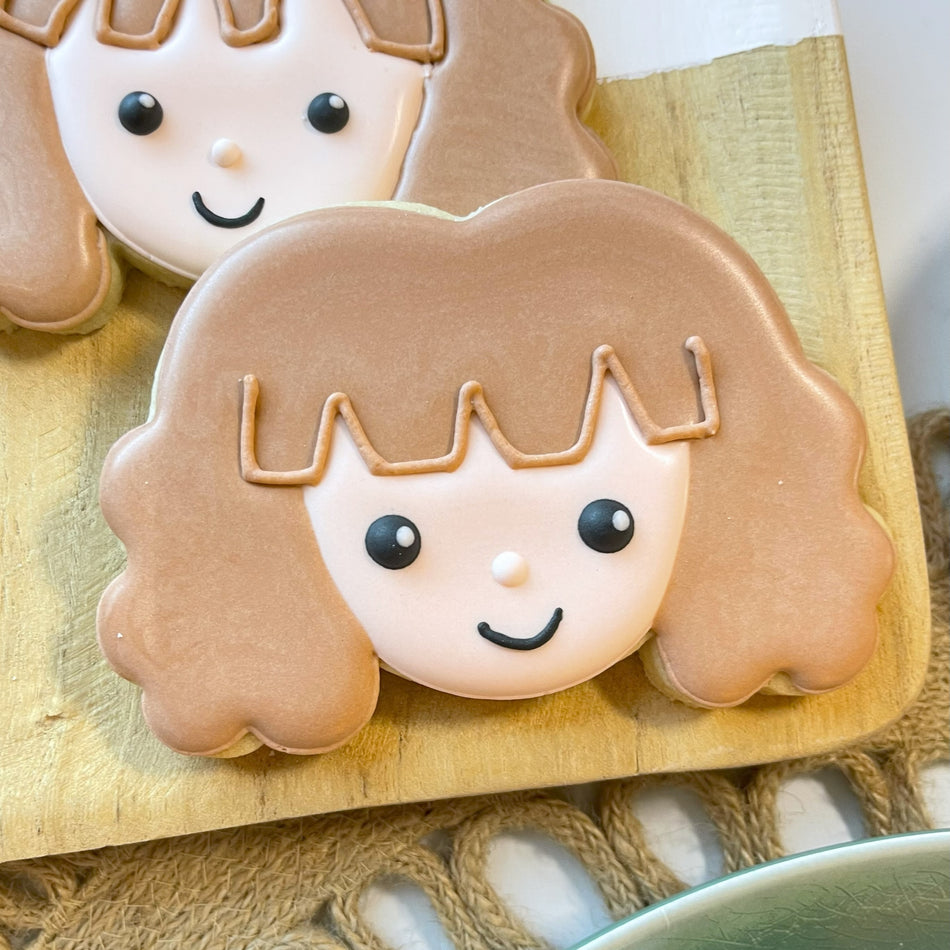
- Wizard Girl Cookie Cutter
- Wizard Best Friend Cookie Cutter
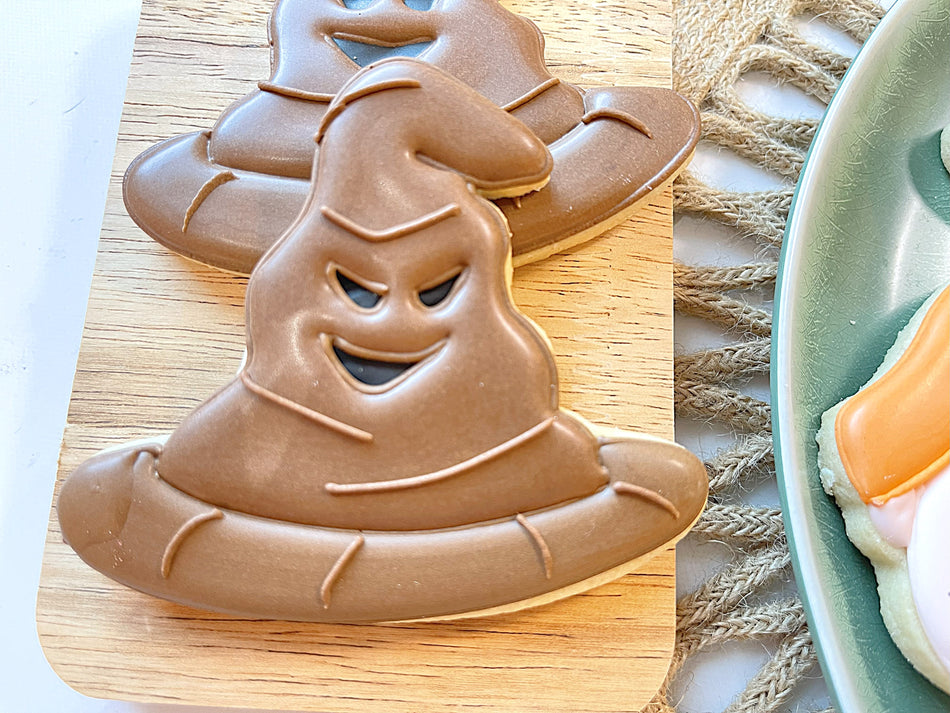
- Wizard Talking Hat Cookie Cutter
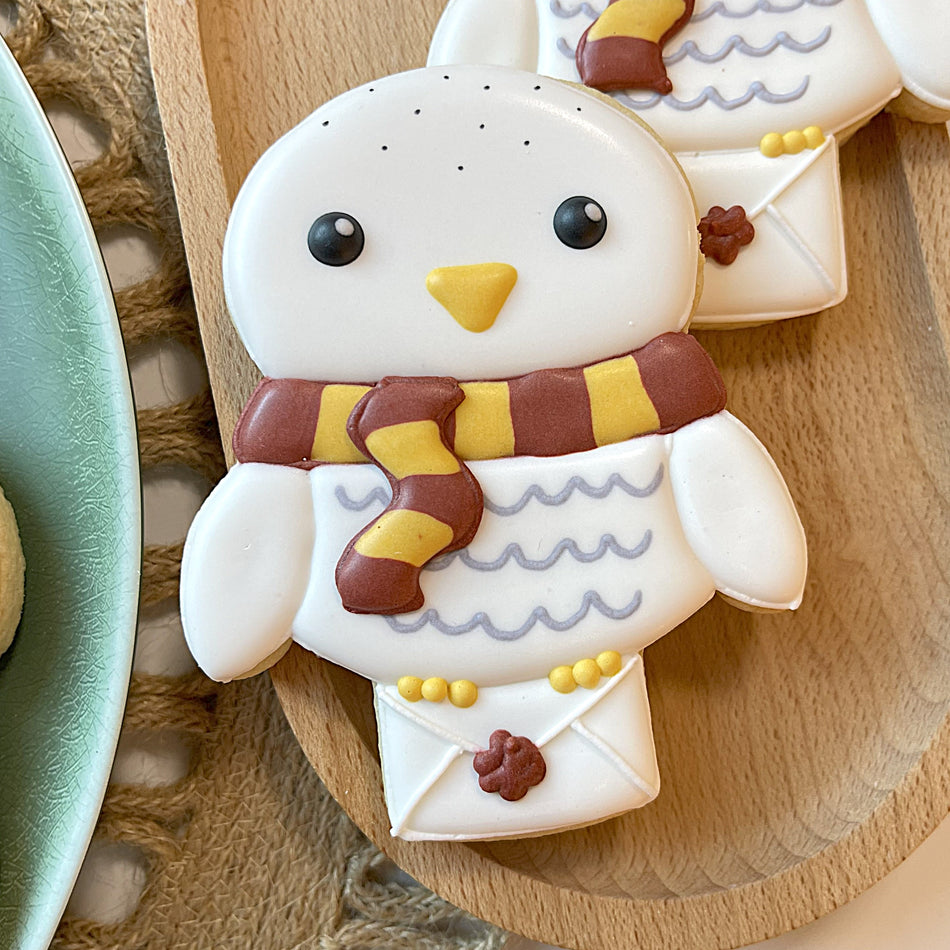
- Owl with Letter Cookie Cutter
- Circle Cookie Cutter
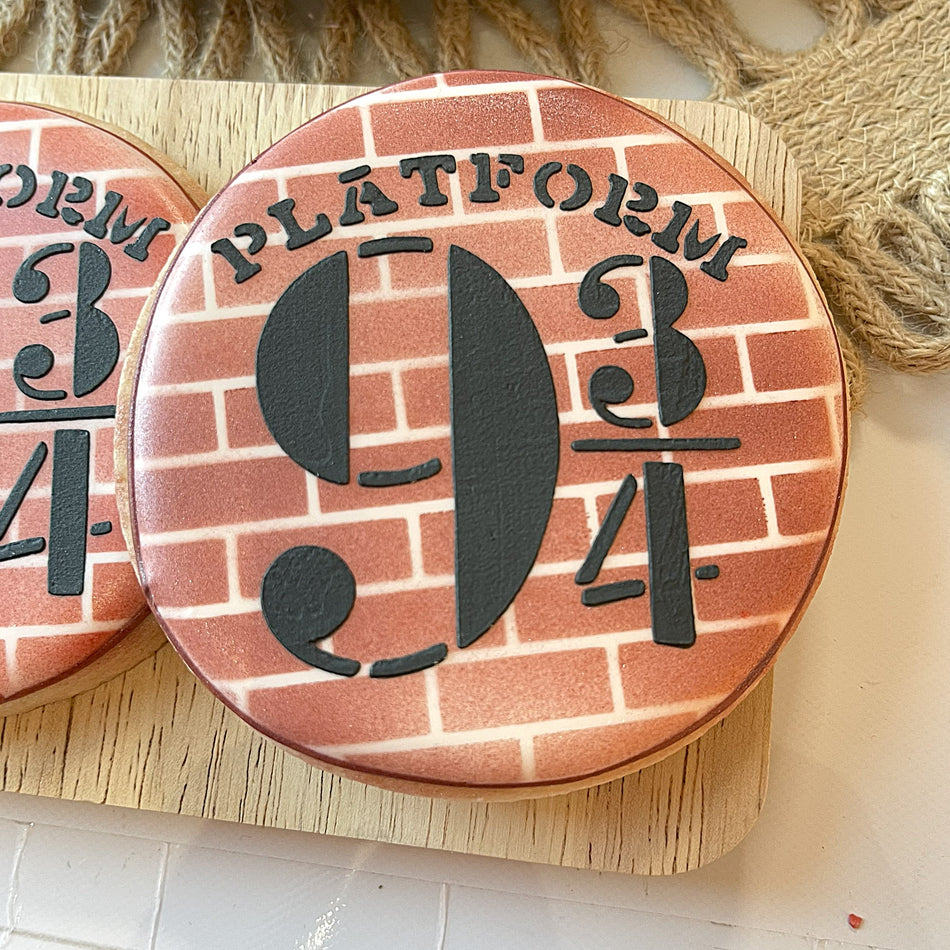
- Platform 9 3/4 Stencil
- Brick Wall Flour Box Stencil
- Pink Icing Scraper 2pc Set
- Tipless Icing Bags SAMPLE 10-Pack
Don't need all of these items?
No worries! You can buy just the items you want!
Pick what I need⚡✨ Calling all wizards (and muggles too)! ✨⚡
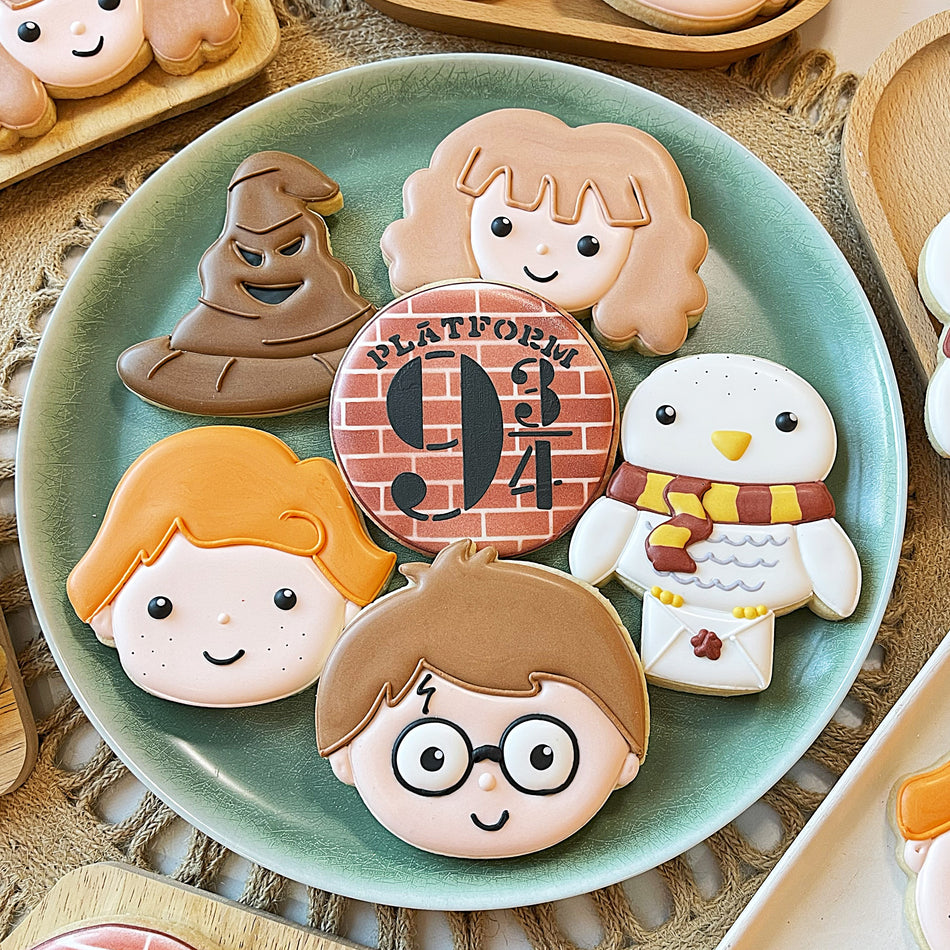
Get ready to add a little magic to your cookie decorating with our brand-new Wizard Cookie Kit inspired by the world of Harry Potter. This kit includes everything you need to create six enchanting cookie designs that will delight fans of all ages.

Watch and Decorate Along
Not sure where to start? Don’t worry—we’ve got you covered! Follow along with our Wizard Cookies Decorating Tutorial on YouTube. You’ll learn all the piping and flooding techniques needed to decorate each cookie like a pro.
🦉 “Cookies so magical, even the owls will deliver them!”

Cookie Yield
This kit makes approximately 18–24 cookies (depending on how thick you roll your dough). It’s the perfect for a fun family activity, a Harry Potter birthday party, or a magical movie night snack! I should note that I roll my cookies to 1/4" thick using the Dough EZ Rolling Mat System. The thickness of your cookies will impact your yield.
COOKIE RECIPE: For a cookie recipe and rolling and baking video CLICK HERE - this recipe can be doubled in a KitchenAid Mixer.

Prepping the Royal Icing
Check out the icing guide below for tips on making the right colors and an estimate of how much of each color you'll need.
For a single batch of dough, I typically use a single batch of icing. Since I'm using a KitchenAid mixer, I made a double batch of icing and split it in half (reserving half for another project).
ICING GUIDE

ICING PLAN (amounts will vary depending on the number of cookies you are making)
Here is what I suggest making for a single batch.
Sugar Art Pumpkin - 3 oz (pipe and flood)
White - 5 oz (pipe and flood)
Buckeye Brown (light) - 3 oz (pipe and flood)
Buckeye Brown (medium) - 3 oz (pipe and flood)
Buckeye Brown (dark) - 3 oz (pipe and flood)
Super Red + Brown = Scarlet- 2 oz (pipe and flood)
Golden Yellow - 1 oz (20 sec)
Black - 1 oz (pipe and flood)
Gray - 1 oz (pipe only)
Sienna - 5 oz (pipe and flood)
For a more detailed look at icing planning, CLICK HERE to read this helpful blog post.
ROYAL ICING RECIPE
For a royal icing recipe and video CLICK HERE - this recipe can be doubled in a KitchenAid Mixer.
Project Timeline
Plan ahead to enjoy the most success with your cookie project! I break up the decorating process. It works better with my life to do a little each day. Here is the schedule for this cookie project and estimated times on how long each phase takes.
DAY 1
Mix Dough (30 mins), Chill Dough (2 hours inactive time), Roll and Bake (1 hour), Mix Royal Icing and Prep Icing Colors the day before you decorate (1 hour)
DAY 2
Outline and Flood Cookies (1-2 hours), Allow to dry in front of fan before adding details (1 hour for standard cookies). Piping details (1-2 hours). I typically allow the icing to dry 4-6 hours before stenciling.

**ALLOW COOKIES TO FULLY DRY 18-24 HOURS BEFORE PACKING. STORE IN A COOL OVEN OVERNIGHT.**
DAY 3
For tips on packing cookies, CLICK HERE to check out this helpful blog post with links to my favorite packing and shipping materials.
Recreate these! What’s in the Kit?
The Wizard Cookie Kit comes packed with tools to help you bring the magic to life:
-
6 Cutters: Wizard Boy, Wizard Girl, Platform 9 and 3/4, Wizard Talking Hat, Owl with Letter, and Wizard’s Best Friend
-
2 Stencils (for fine details and lettering)
-
2 Scrapers
-
Tipless Icing Bags
-
Thingamagenie Decorating Tool

Common Tools Needed Not Included in the Kit:
click on the tool to view in shop
- Food Gels
- Tip #2 (PME or Wilton brand) for outlines and details
- Tip #1.5 for the details on the faces
- Couplers
Pin this Post and Tag Me!

I would be so flattered if you recreated these cookies! Be sure to tag @theflourboxshop or use hashtag #theflourbox so I can see what you create!
Happy Decorating!
Anne