Winter Cookie Decorating Kit


Winter Cookie Decorating Kit
$33.31$29.98On sale!
What's included?
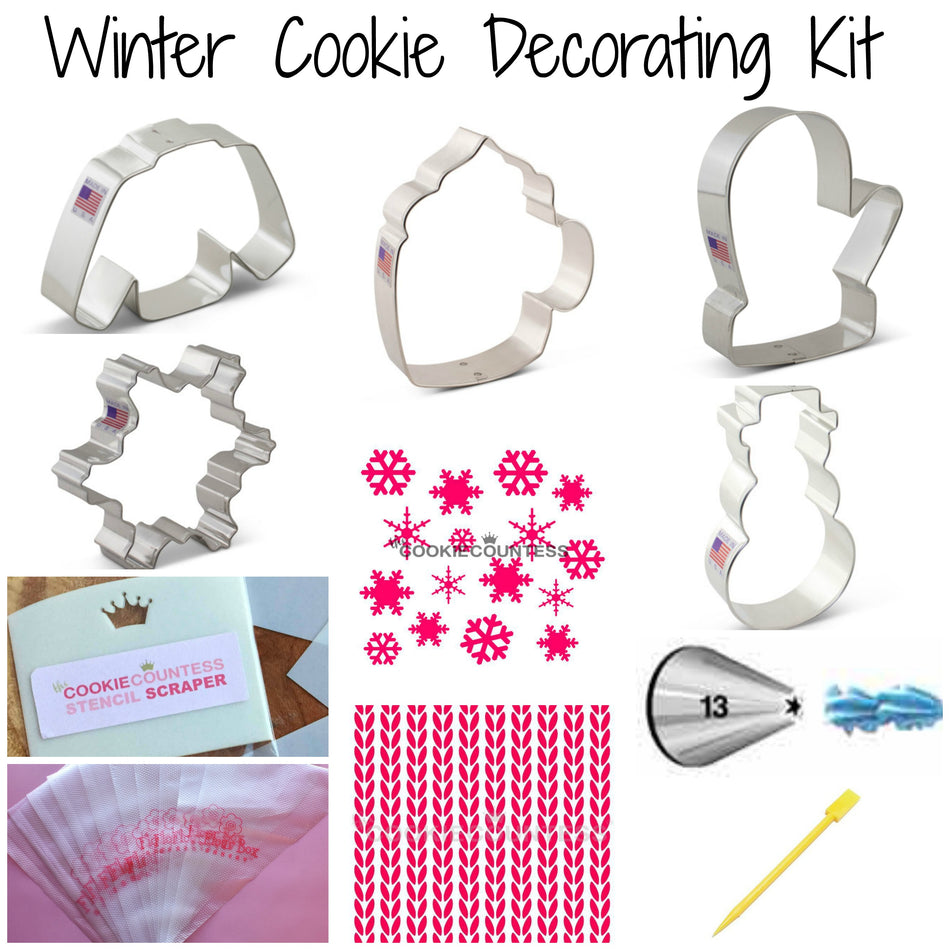
Here's a list of everything that's part of the kit - all with a 10% savings when purchased together!
- Mug Cookie Cutter by Flour Box Bakery
- Mitten Cookie Cutter
- Snowflake Winter Cookie Cutter
- Snowman Cookie Cutter
- Ugly Sweater Cookie Cutter
- Wilton Tip #13 Star
- Royal Icing Single (1) Scraper Tool
- Snowflakes Stencil
- Knit Pattern Stencil
- Tipless Icing Bags SAMPLE 10-Pack
Don't need all of these items?
No worries! You can buy just the items you want!
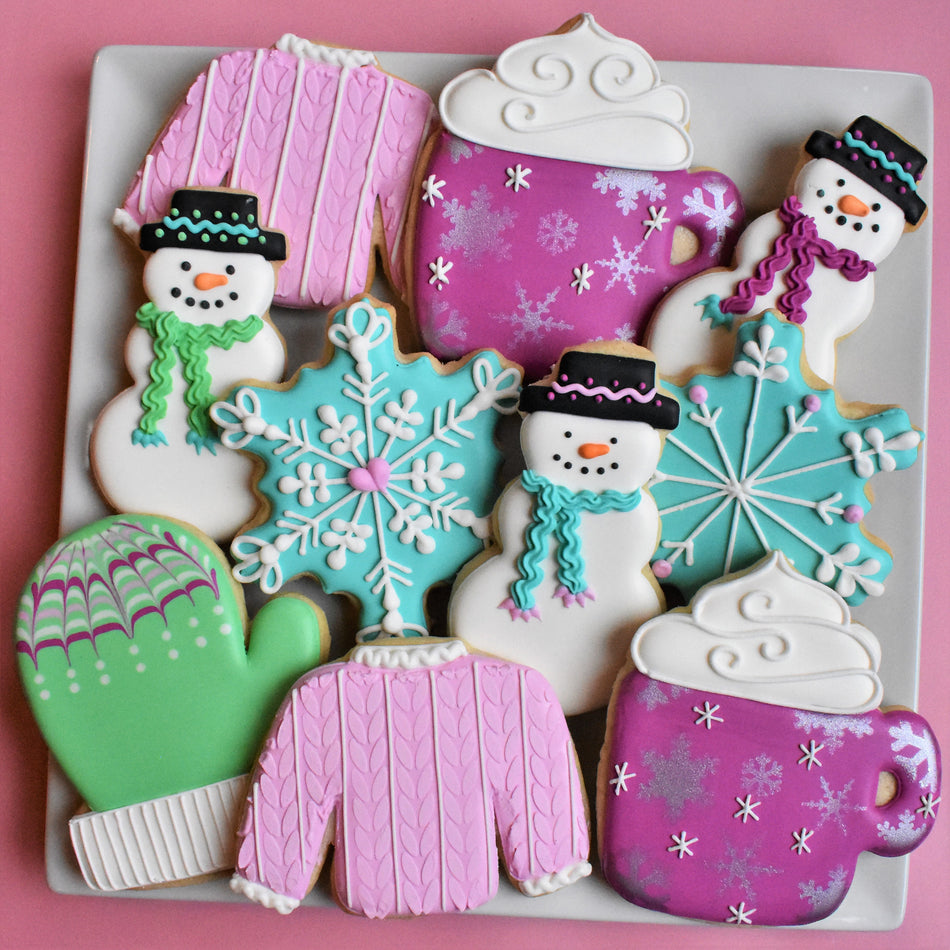
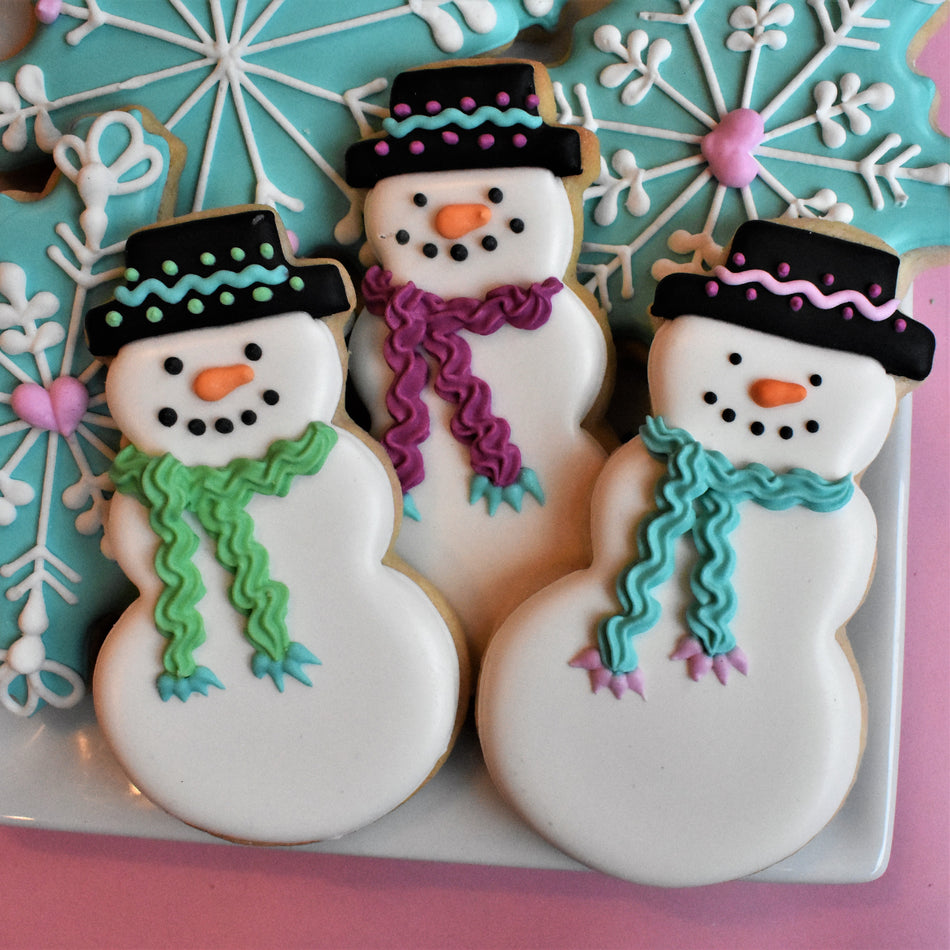
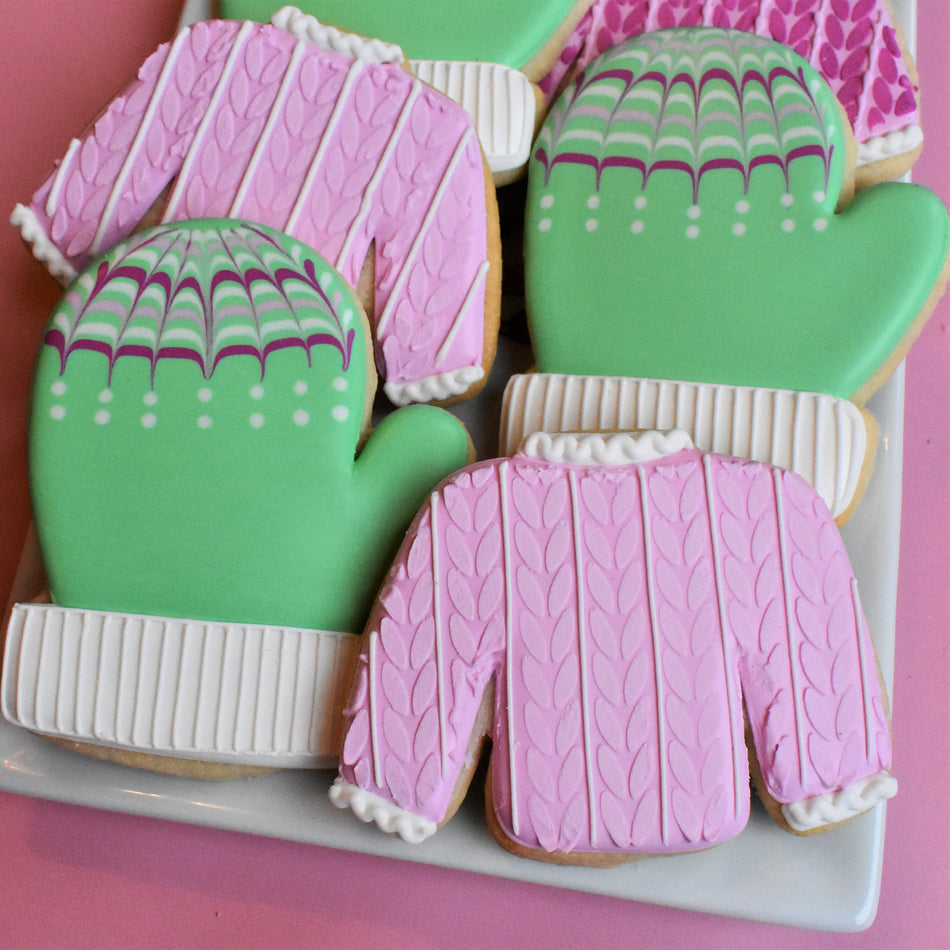
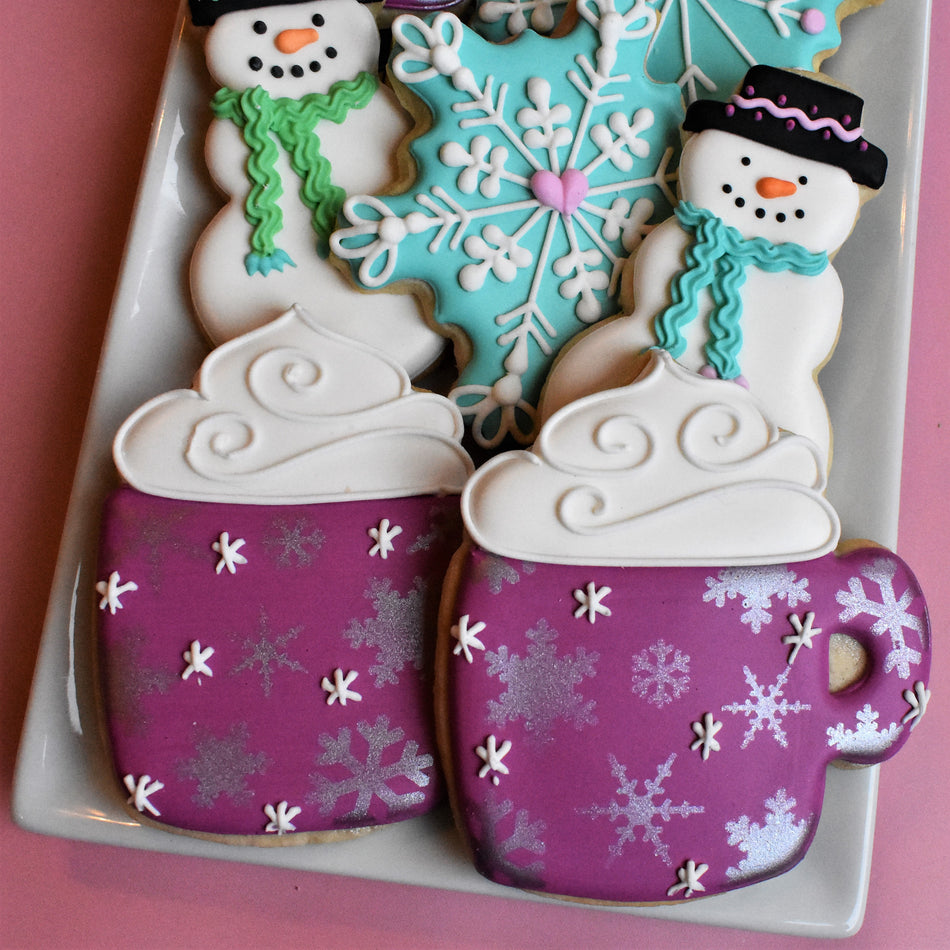
Pick what I needIt's officially Hot Cocoa weather in Pennsylvania! This new Winter Kit is perfect for brightening these cold winter months! Watch the video (above) and learn step-by-step how to make: a mug, snowman, sweater, snowflake, and mitten cookie!

Cookie Yield
COOKIE YIELD:
These cookies are all in the 3’ – 4” size range, with the mug and mitten on the larger size. With a single batch of dough I made 17 cookies: 3 sweaters, 3 mittens, 4 mugs, 4 snowmen, and 3 snowflakes. I should note that I roll my cookies to 1/4" thick using the Dough EZ Rolling Mat System. The thickness of your cookies will impact your yield.

If you're looking to keep your project simple, just pick one or two designs and streamline your color plan. You might enjoy decorating more with a simple plan!
COOKIE RECIPE:
For a cookie recipe and rolling and baking video CLICK HERE - this recipe can be doubled in a KitchenAid Mixer.
Prepping Royal Icing
I find it so much easier to make my icing colors using the gel straight from the bottle, no mixing required. Here's the guide ...

The light pink and fuchsia are both fuchsia - just a few extra dots of color in the deeper tone. I love how they work together and it's easier mixing shades of colors.

For a single batch of dough, I typically use a single batch of icing. Since I'm using a KitchenAid mixer, I made a double batch of icing (about 36 oz) and split it in half (reserving half, or 18 oz, for another project).
I don't measure exactly...I estimate. Here's what worked for me on this Winter project:
ICING PLAN BY THE OUNCE
Sunset Orange - 1/2 oz (20-sec)
Coal Black - 1 oz (20-sec only)
Turquoise - 4 oz (pipe and flood)
White - 4 oz (pipe and flood)
Mint - 3 oz (pipe and flood)
Light Fuchsia - 3 oz (pipe and flood)
Dark Fuchsia - 3 oz (pipe and flood)
For a more detailed look at icing planning, CLICK HERE to read this helpful blog post.
ROYAL ICING RECIPE
For a royal icing recipe and video CLICK HERE - this recipe can be doubled in a KitchenAid Mixer.
Project Timeline
Spend less time decorating and more time snuggling this winter by breaking up the decorating process. It works better with my life to do a little each day. Here is the schedule for this cookie project and estimated times on how long each phase takes.
DAY 1
Mix Dough (30 mins), Chill Dough (2 hours inactive time), Roll and Bake (1 hour), Mix Royal Icing and Prep Icing Colors - it is helpful to make the colors the day before you decorate because the color will deepen overnight (1 hour).
DAY 2
Outline and Flood Cookies (1-2 hours), Allow to dry in front of fan before adding details (1 hour for standard cookies, but allow 6 hours of dry time on the cookies stenciled with royal icing like the sweater), Piping details, and stenciling (1.5-2.5 hours)
**ALLOW COOKIES TO FULLY DRY 18-24 HOURS BEFORE PACKING. STORE IN A COOL OVEN OVER NIGHT.**
DAY 3
For tips on packing cookies, CLICK HERE to check out this helpful blog post with links to my favorite packing and shipping materials.
More inspiration
This sweater is fun with dots and a snowflake stencil - click to find stencil in shop!
You might already have this popular Fair Isle Sweater Stencil...so try it on the mitten!!

The mug is fun in all colors and looks great with Christmas OR Winter cookies!!!

Have fun with your snowflakes...dots, loops, lines, and teardrops can be piped to create a variety of designs!!!


